Fun with React: Writing UrlMem's Front End
The first step to writing the front end for URL shortener UrlMem will be to prototype different parts of the website.
After prototyping, I’ll port things to the React app I set up in the last post. I’m using React because I think it’s an important framework to learn, and I believe the website will have enough repeated components to merit using a component-oriented library.
Prototyping the Output Box
The output box is the space where shortened URLs are displayed. To decide how I wanted output boxes to look, I looked at what URL shorteners TinyURL and bitly do.
Here’s how TinyURL outputs shortened URLs:
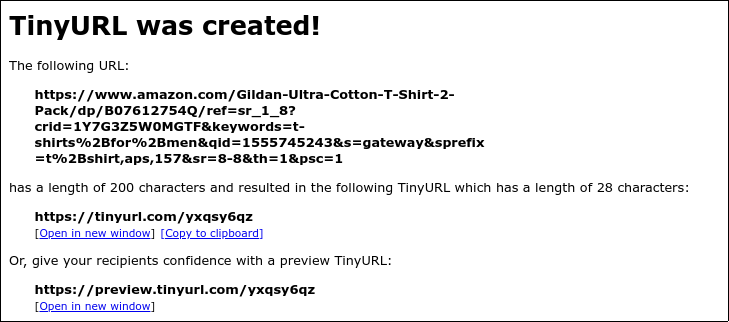
TinyURL shows users the original link, offers a copy option, and a preview link. On the downside, the output doesn’t have much style.
Here’s how bitly outputs shortened URLs:
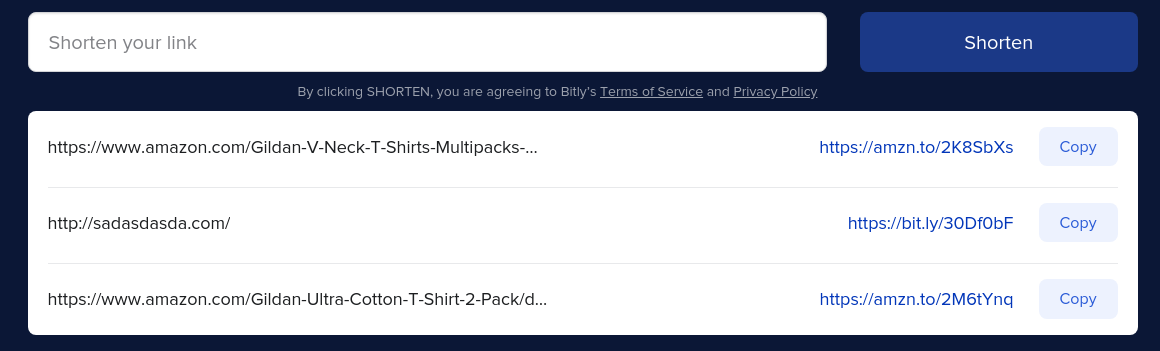
Bitly’s output is much nicer, and shows a list of past links. However, it’s not clear how to see the full version of a shortened URL.
With the features from TinyURL and bitly in mind, this is the output box I came up with:

This is what happens when a user hovers over the long URL:
These boxes can be stacked so that a user can see previously shortened links.
I’ve tried to keep the good parts of what bitly and TinyURL do, while further emphasizing the memorable part of the URL, as memorability is a key feature of UrlMem.
Here is the HTML/CSS code for the output box.
Prototyping the Input Box
While prototyping the input box, I again looked to TinyURL and bitly for inspiration.
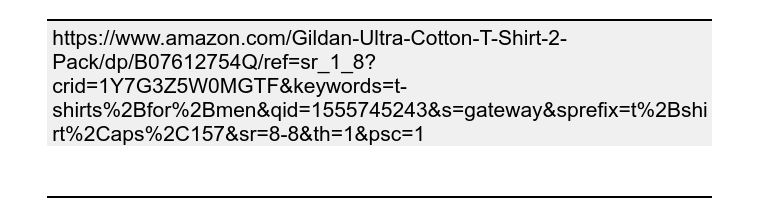
Here’s what TinyURL does:
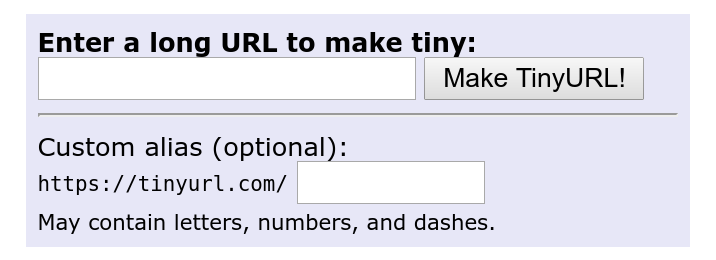
Again, I don’t like how wordy TinyURL is, or the lack of styling.
However I think putting the custom alias input box after “tinyurl.com/” was quite ingenious - they are spared from explaining what a custom alias is.
Bitly did nothing special with their input box - they don’t offer custom aliases, there’s just an input and a shorten button.
So with TinyURL’s strengths and weaknesses in mind, this is what I came up with for UrlMem:

I’ve minimized needless text, spent time on styling, and still save myself from having to explicitly explain what a custom url is.
I could have gone the bitly route and not offered custom links, but as of now there’s still a chance a user won’t like the random link they get - in which case they’ll be able to choose their own. Here is the code for the input box.
Organizing the Components
Next, I decided how I wanted the website to be broken up in terms of components.
I didn’t end up creating a separate component for the input box - it only gets used once, and doesn’t need to hold any information other than what the user has typed in.
Instead, I ended up having a top level App component, a UrlShortening component, and then a UrlOutput component.
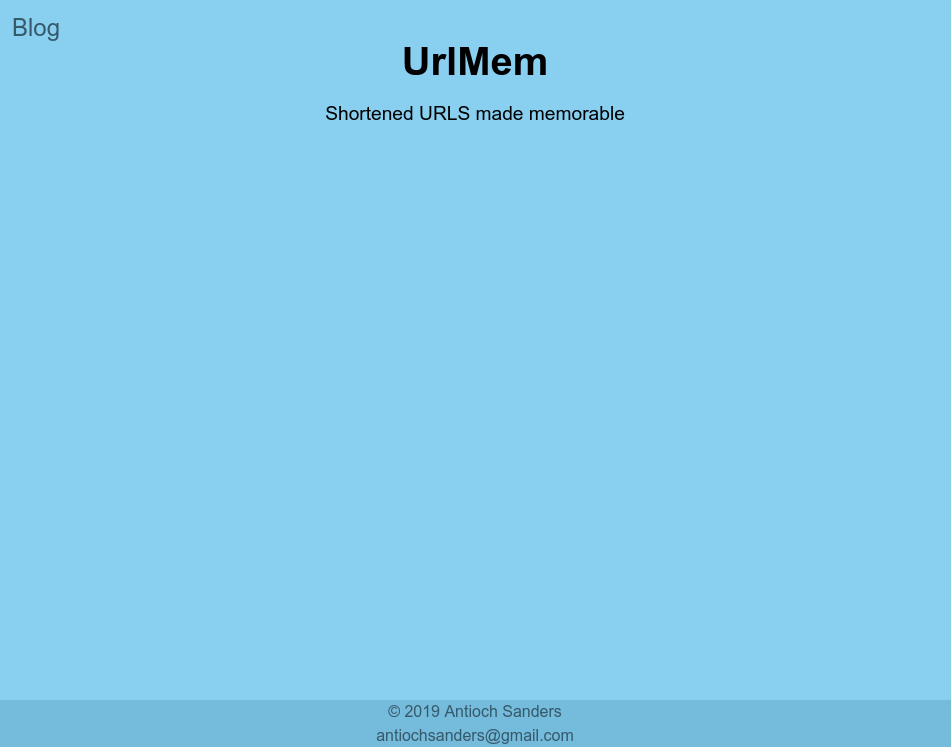
The App component just had code for the page header and footer - this is what it looks like without the other components:
The UrlShortening component is where most of the logic will go. It displays the input box, and then as many UrlOutput components as are necessary.
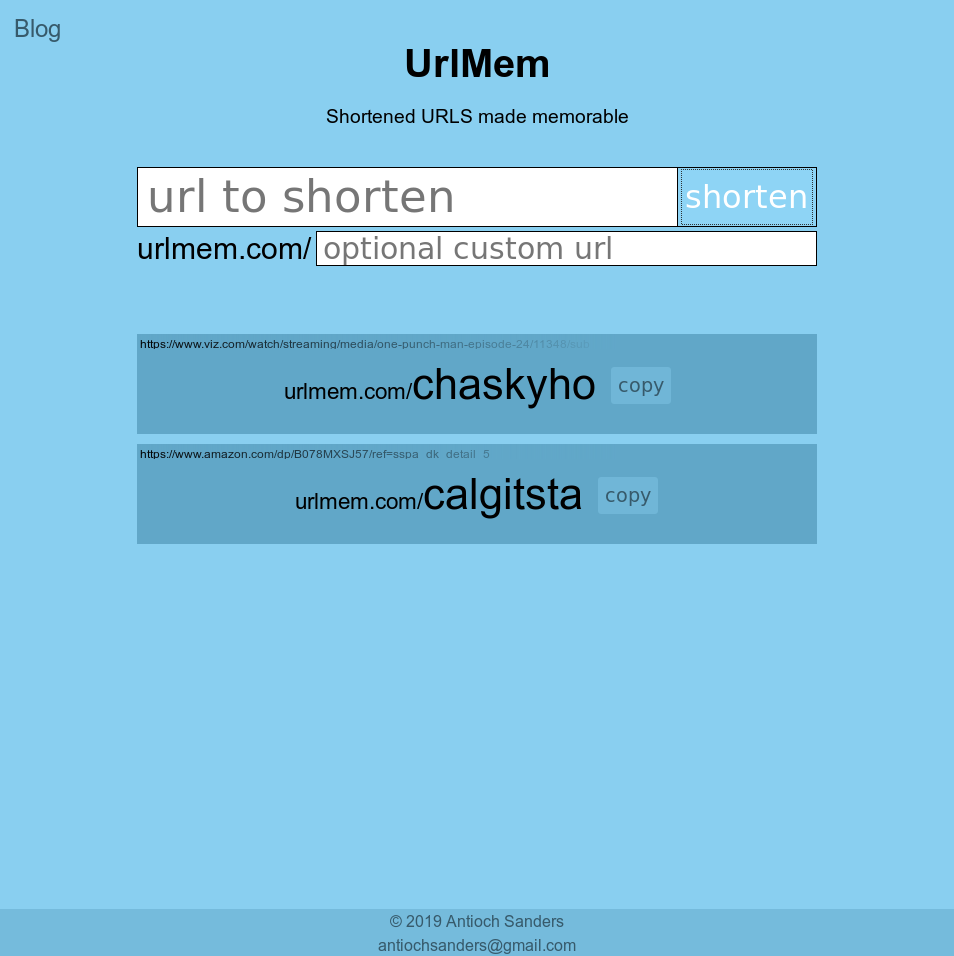
Here is what everything looked like with some further styling:
Creating the Output Box Component
To show a little bit of how writing in react is, I’ll go through the creation of the UrlOutput component. The React Docs are awesome, so I won’t explain the creation of all of the other components.
Here it is:
Since this component is written as a function rather than as a class, it’s called a functional component. As with all components, when I want to use it somewhere, I just use the associated <UrlOutput /> tag.
In a previous project where I had a component this size, I had to copy paste it 19 times - being able to use a custom tag is a vast improvement.
I can also pass properties to the component. That’s what the props argument is for. You can see that the only props I use are props.shortUrl and props.longUrl.
Lastly, note how I use CSS. Further up in the file I imported a CSS file as outputStyles, which allows me to use that CSS in ways like the following:
This system is called CSS modules. There are several benefits to this - one of the biggest is that naming conflicts are avoided. If I import a CSS file inputStyles that also has shortenOutput as a class, I can differentiate the two classes by using outputStyles.shortenOutput and inputStyles.shortenOutput.
Responsive Design
After designing the desktop website, I spent (a painful amount of) time ensuring that the website scaled well when on a mobile device. Here is how the website dynamically changes based on screen size:
In order to make the shorten button “jump” down when the screen becomes narrow, I actually use two buttons, and hide one depending on the width of the screen.
If you want to learn more about making websites responsive like this, check out this post where I explain how I made my project blog mobile friendly.
What’s Next
The UI design for UrlMem is pretty much done, save for outputting errors when a user inputs garbage.
That being said, the server might send back errors of its own - so I’ll deal with input sanitation and errors in the next post, where I’ll write an Express server and connect it to UrlMem.
Stay tuned!
| Back to Project |
Get occasional project updates!
Get occasional project updates!