Getting Connected: Setting up the Raspberry Pi
The title says it all - in this post, I’ll explain how I got my Raspberry Pi connected via bluetooth and the internet. Then I’ll explain how I play music from my phone to a speaker connected to the Raspberry Pi. Per usual, there’s a parts list at the end.
The Basics
The first step to hooking up the Raspberry Pi is to ensure that Raspbian is installed on it. If the Pi has NOOBS preinstalled, an option to install Raspbian will be shown once the monitor, mouse and keyboard are hooked up. Otherwise, you can use these intructions to install Raspbian.
The next step is to plug in a mouse, keyboard, display that supports HDMI, some way to connect to the internet, and a bluetooth dongle.
Internet Connection
To connect to the internet, you can use an ethernet cable or purchase a wifi dongle (the dongle is easier). I started off with an ethernet cable because that’s what I had on hand. I connected one end of the cable to my network-enabled laptop, and the other to the Pi. Getting this to work depends on what OS you use on the non-Pi computer - for me on linux I had to go to “wired settings”, “IPv4 settings”, and then to “connection type”, which I changed to “share with other computers”.
When I did switch to a wifi dongle on the Pi, I couldn’t connect to enterprise networks (such as my college’s network) and had to manually connect. Below I’ve copied a picture of intructions to do so from this answer - note that the existing contents of wpa_supplicant should be left alone, all changes should be made at the bottom of the file.
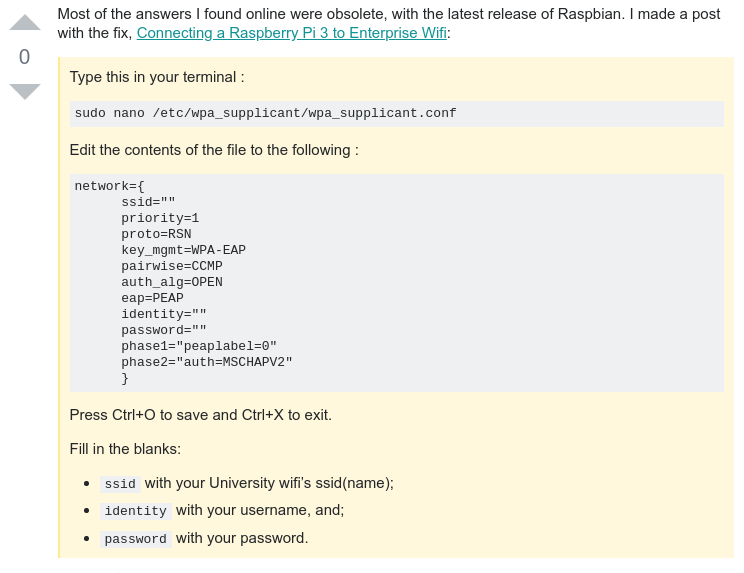
After I was connected to the internet, I opened up terminal on the Pi, ran sudo apt install and then sudo apt upgrade to ensure the Pi was up to date.
Bluetooth Audio
After the Pi was connected to the internet, I changed the Pi’s name so that I would recognize it over bluetootoh. To do so, I followed this guide. In essence, I ran sudo nano /etc/hostname and changed the name in that file (I chose “fancymusic”), and then ran sudo nano /etc/hosts and changed the name after “127.0.1.1”, too.
The next step was to get bluetooth working in order to play audio through the Pi’s headphone jack. I ran the following command and then rebooted the Pi:
After the Pi rebooted, I ran hciconfig to determine the MAC address of the Pi’s bluetooth. It will be in the format “AA:AA:AA:AA:AA:AA”.
Next, I ran bluetoothctl, which opens a terminal interface for controlling bluetooth. Then I typed pairable on to allow pairing, next discoverable on to allow my phone to see the Pi, then agent NoInputNoOuput to make pairing automatic, and lastly default-agent so that future connections would be automatic too. On my phone, I paired with the Pi. The Pi appears as its name (in my case “fancymusic”) or as the bluetooth mac address found earlier.
After the pairing, I could play music through my phone, and it would play through the monitor I’d connected to the Pi. To force sound through the headphone jack instead, I ran the command amixer -c 0 cset numid=3 1. The command amixer controls a popular sound driver called ALSA. The option -c 0 tells amixer to apply the rest of the command to the “0th” (first) sound card. The rest of the command, cset numid=3 1, tells amixer to set the option with id 3 to the value 1. In this case, the option with id 3 is where audio should be output, and the value 1 corresponds to the headphone jack. There are a ton of other options too, which we can see using cget - here are the results of cget for ids 1, 2 and 3 on my linux laptop - note these ids correspond to different options on the Pi:
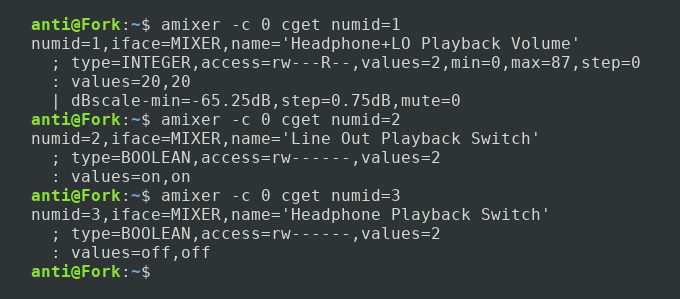
Note that on my laptop id 1 corresponds to some volume with value “20,20”, id 2 corresponds to some audio switch with values “on,on”, and id 3 corresponds to some headphone audio switch with values “off,off” - which makes sense, since I wasn’t using headphones.
That’s it for now - everything seems to be up and running. In the next post, I’ll explain how to make this setup headless - without a monitor, anyone will be ale to automatically pair and play music to the Pi once it turns on.
Parts
-
Mouse - If you want to be able to use the Raspberry Pi, you’ll probably want one of these. AmazonBasics keyboards are $14.
-
Keyboard - See above. Amazon has them for $7.

-
HDMI Cable - To connect the Raspberry Pi to the monitor. Amazon has them for $7.
-
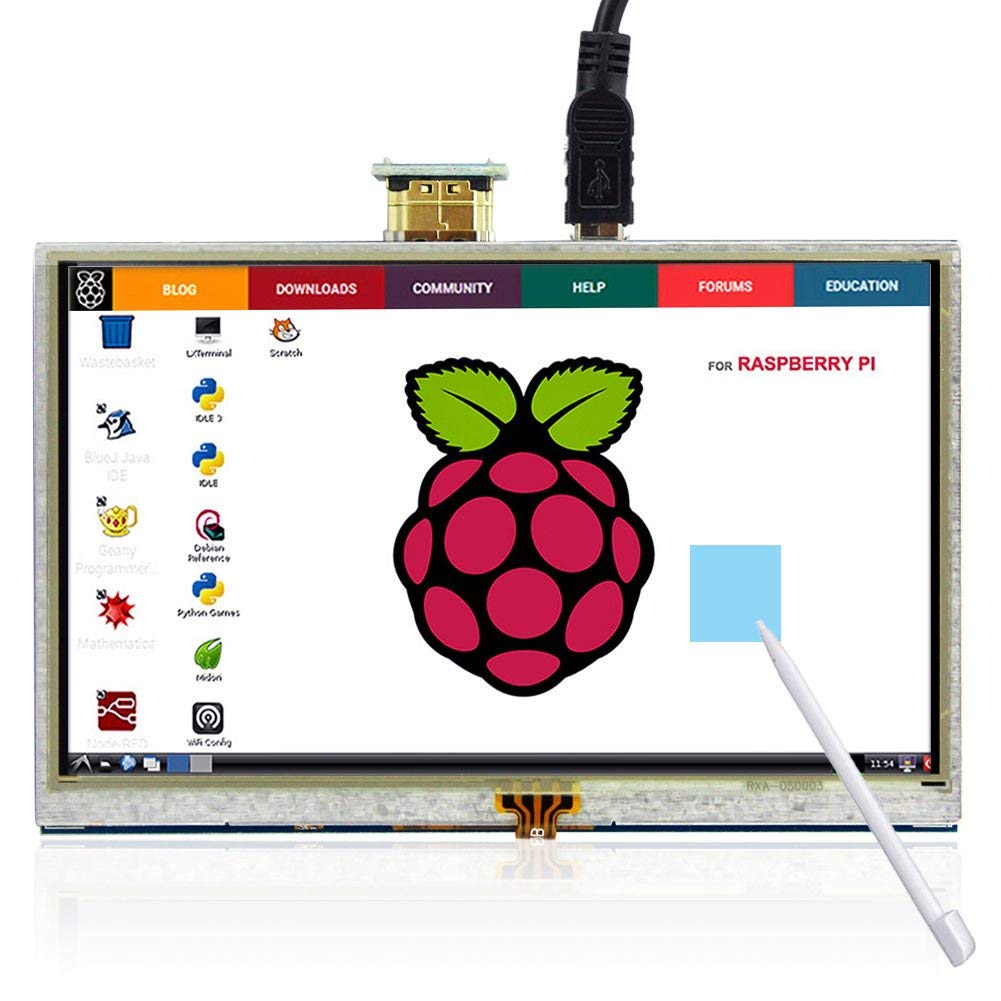
HDMI Capable Monitor - To be able to use the Raspberry Pi - I suggest finding one around the house. A search for “small monitor” will yield results as cheap as $40.
-
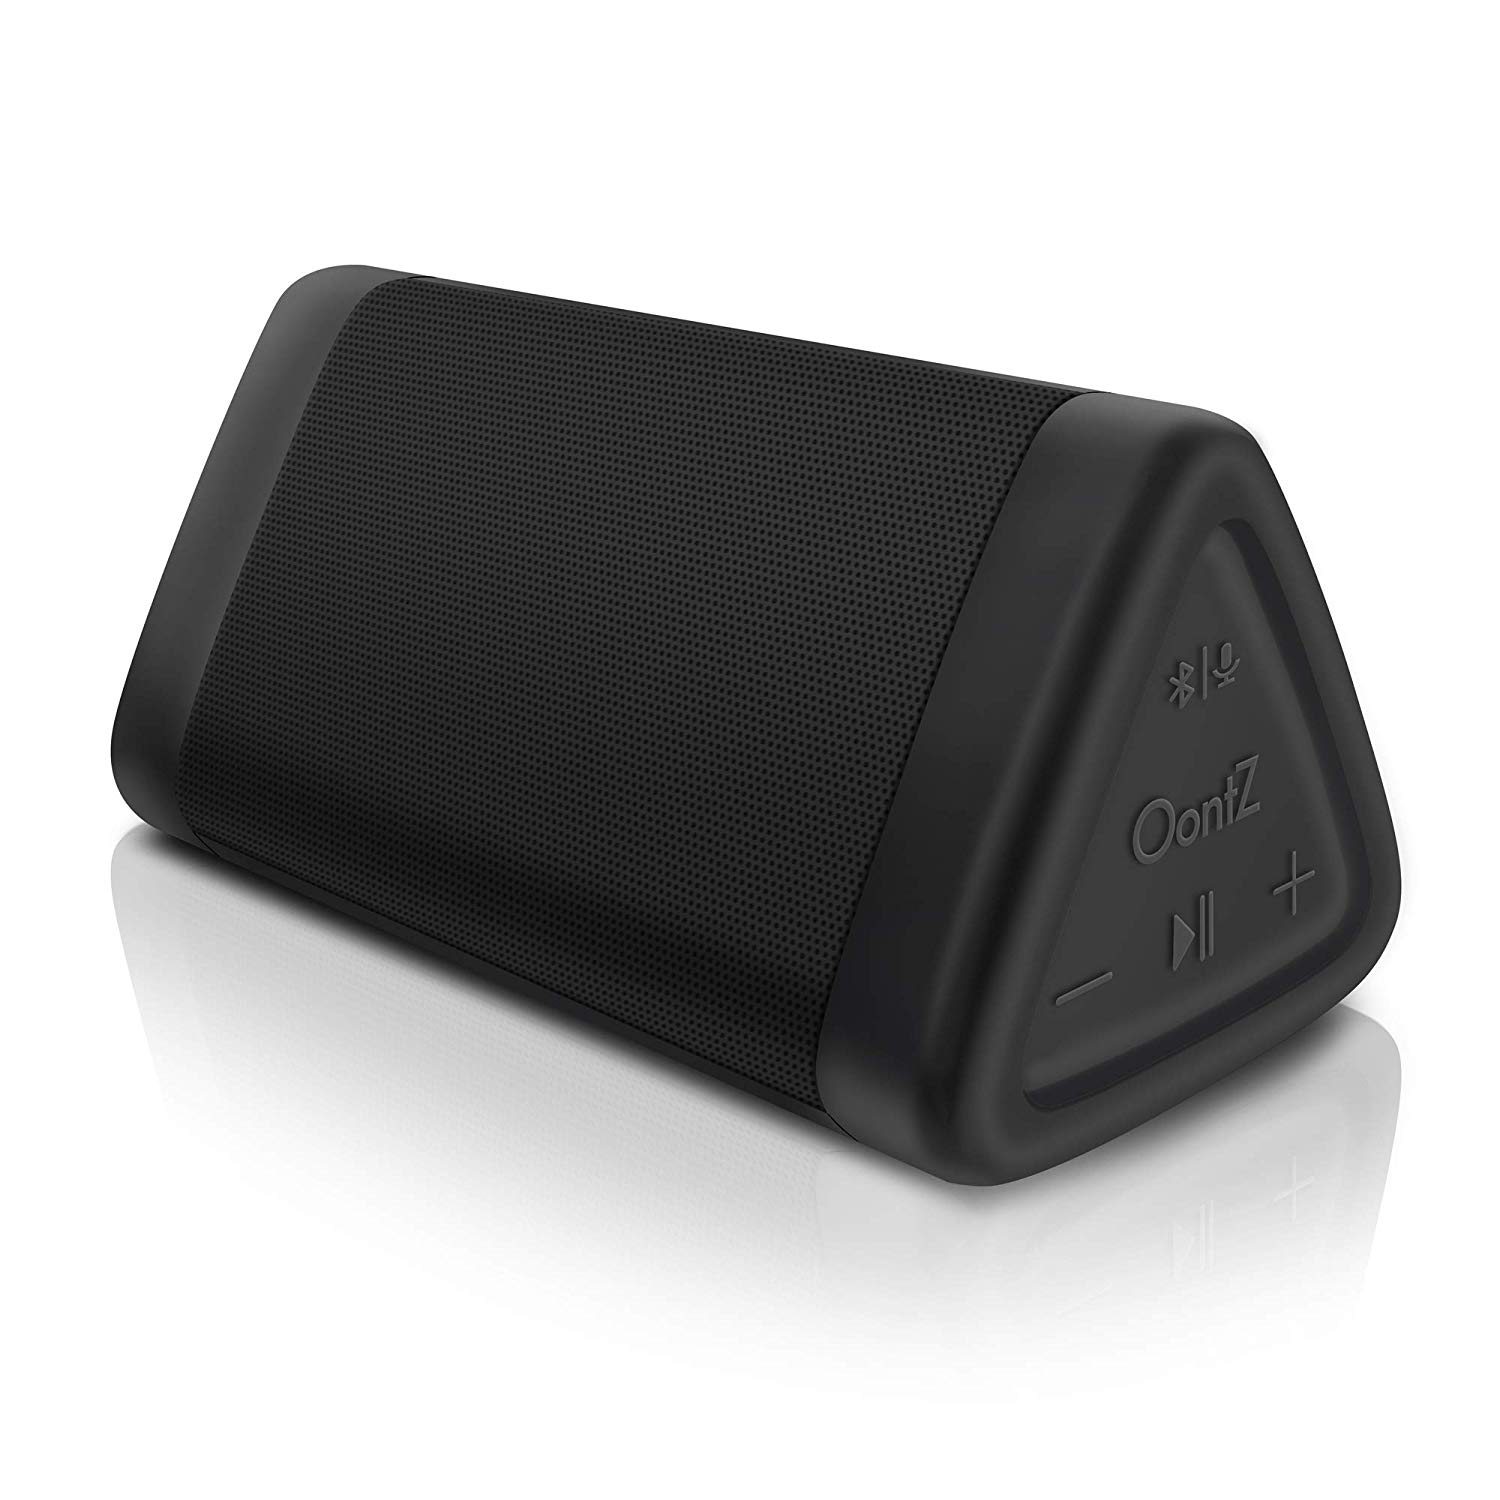
Powered Speaker with 3.5” Audio Jack Input - The Raspberry Pi has a 3.5” audio output jack to play music from - but it’s not very powerful, so you’ll want a powered speaker. I got the Oontz Angle 3 to play music - it comes with a 3.5” audio output cable, is fairly loud for it’s size, and costs $28.
-
Raspberry Pi and Power Source - I used the Raspberry Pi 1 Model B+, which you can find with a power cable for $40 if you look hard. Otherwise, the newest version is ~$50, and probably a better deal - the newer version is faster and comes with bluetooth and wireless.

-
Wifi Dongle (or ethernet cable) - I used the “CanaKit Raspberry Pi WiFi Wireless Adapter” from Amazon, which I got for $10. If you have a newer Pi, you won’t need one of these.
-
Bluetooth Dongle - I used the “Plugable USB Bluetooth 4.0 Low Energy Micro Adapter” from Amazon, which I got for $13. If you have a newer Pi, you won’t need one of these.
Parts List Total: ~$156, a lot less if you have some of this stuff laying around.
| Back to Project |
Get occasional project updates!
Get occasional project updates!