Refined: Laser-Cut Light Fixture
The Problem
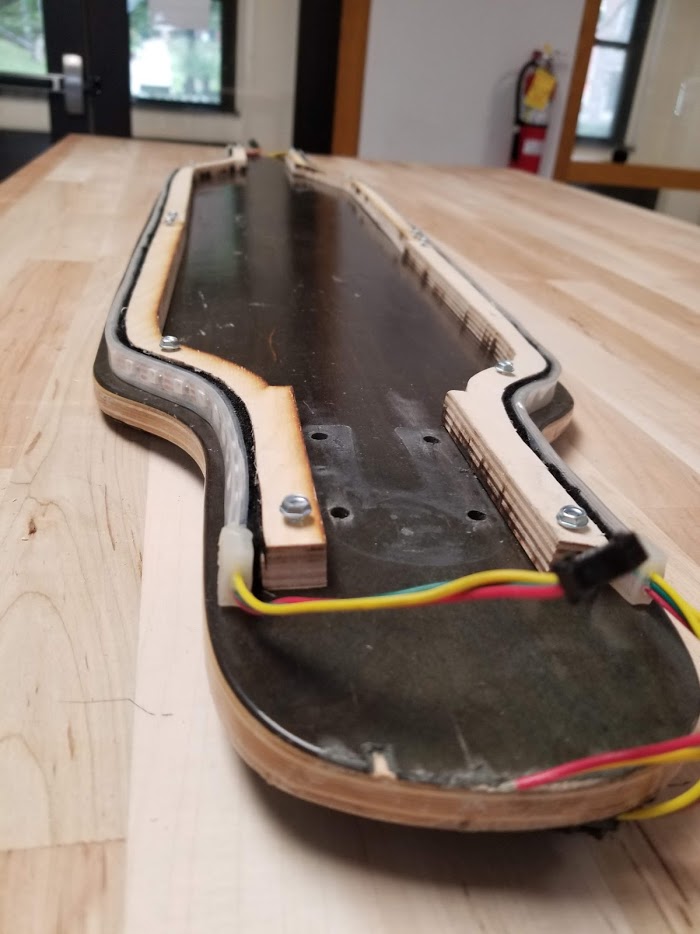
The first fixture I created to attach LED strips to my longoard mostly worked, but had a key issue. Namely, the velcro on the smaller blocks of wood didn’t stay on well, as demonstrated here:
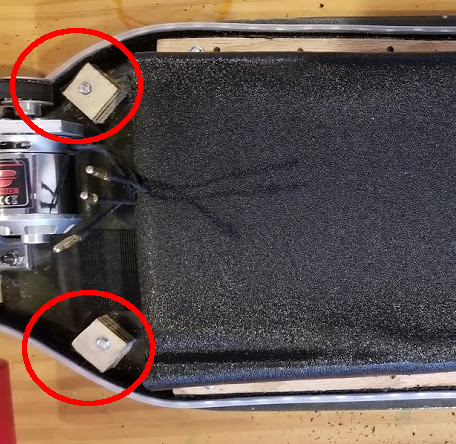
Because of this, the LED strips would sometimes stick out around edges of the longoard. First, this doesn’t look good. Second, when making hard turns this makes the lights prone to coming into contact with the wheels. The solution is to have a fixture that’s continuous and symmetric - a project well suited for CAD.
Modelling the Board in CAD
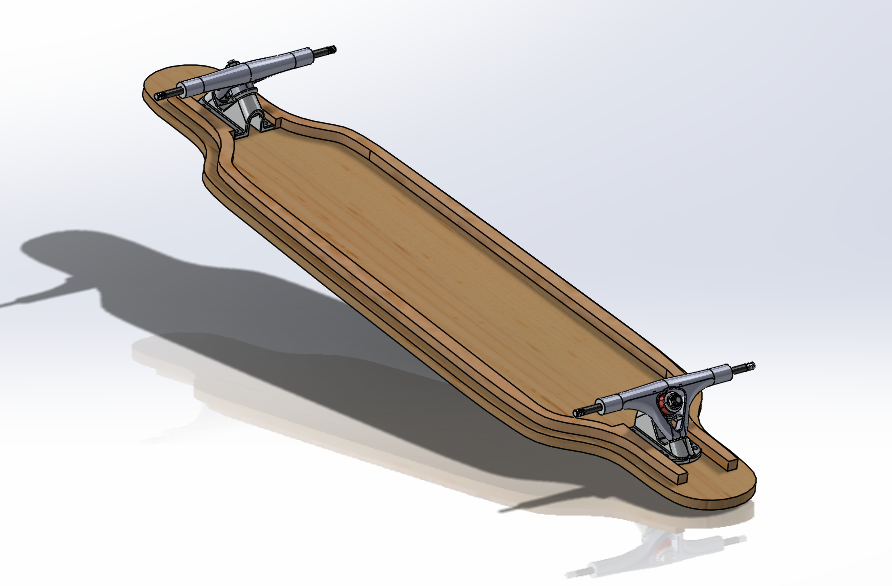
The first step to creating a light fixture was to model the longboard itself. I used SolidWorks because I have access to it through school.
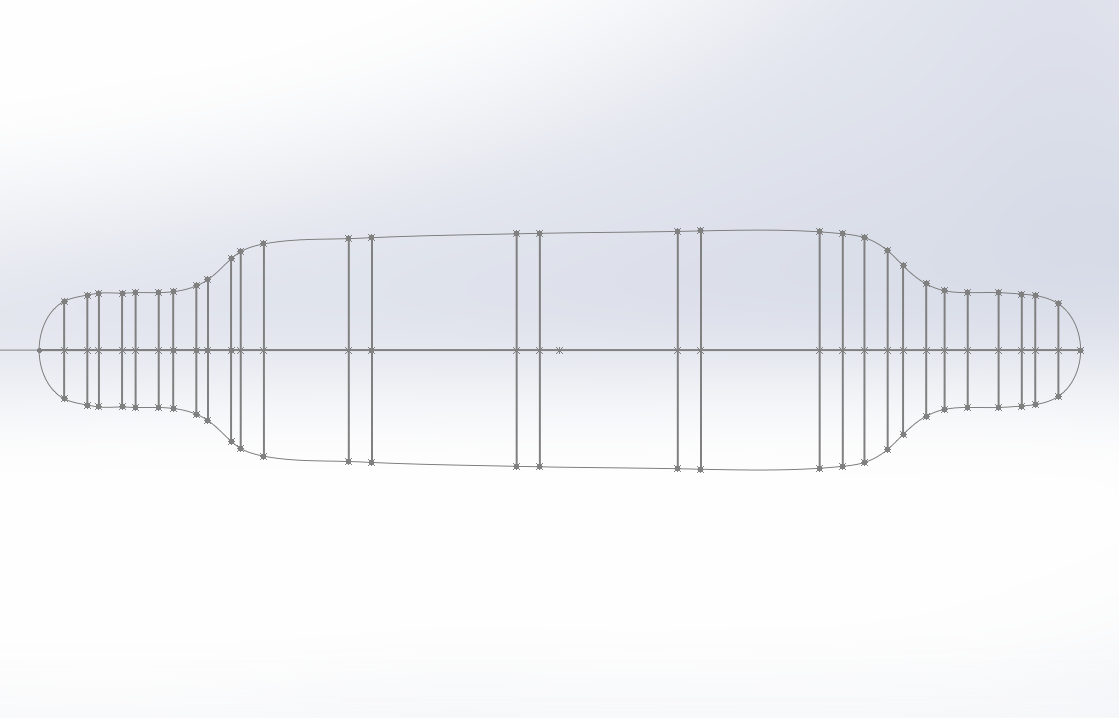
To create the 2D sketch of the board I measured the length of my longboard, and measured the board’s width at many points. After making a skeleton with these points, I connected them all with a spline. Unfortunately, because all longboards are shaped differently, this step has to be redone for different longboards.
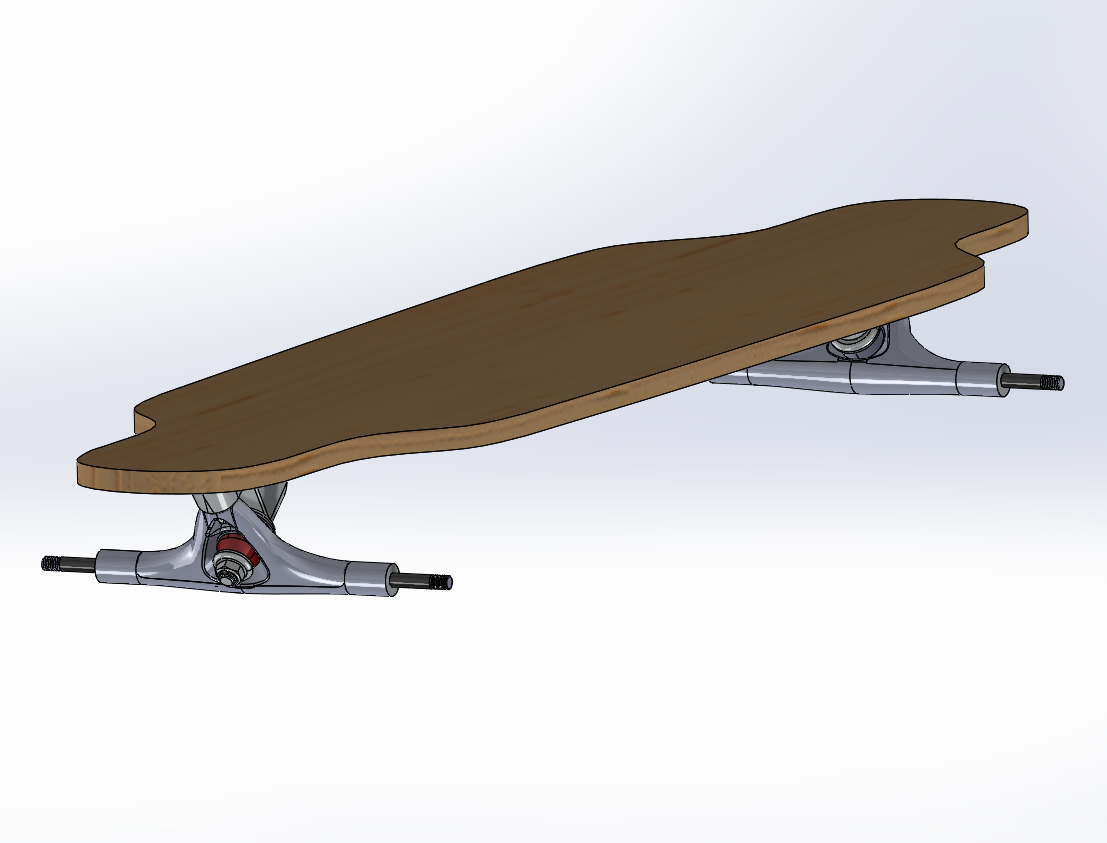
After extruding the spline, I found a pair of trucks on the internet to complete the board.
Modelling the Fixture in CAD
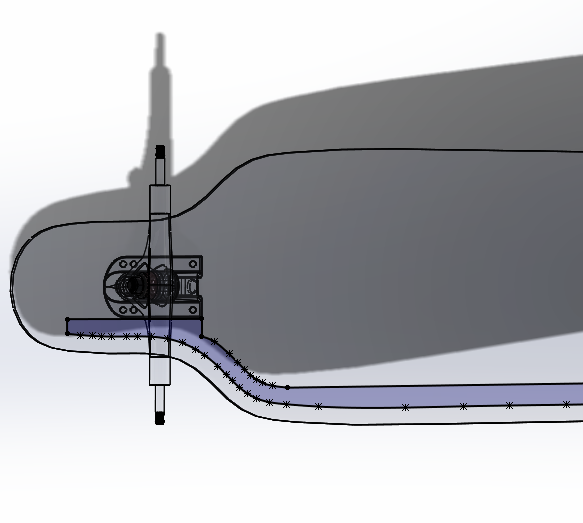
To create the light fixture, I created a new part on the underside of the board. I drew many perpendicular lines from the edge of the board about 1.5cm long inwards to form the outer edge of the fixture. I wasn’t as picky for the inner edge of the fixture. Note that in the CAD model I lined up the verticle edges of the trucks with the verticle edges of the light fixture. I made a horizontal placement error with the trucks, so this doesn’t line up in real life.
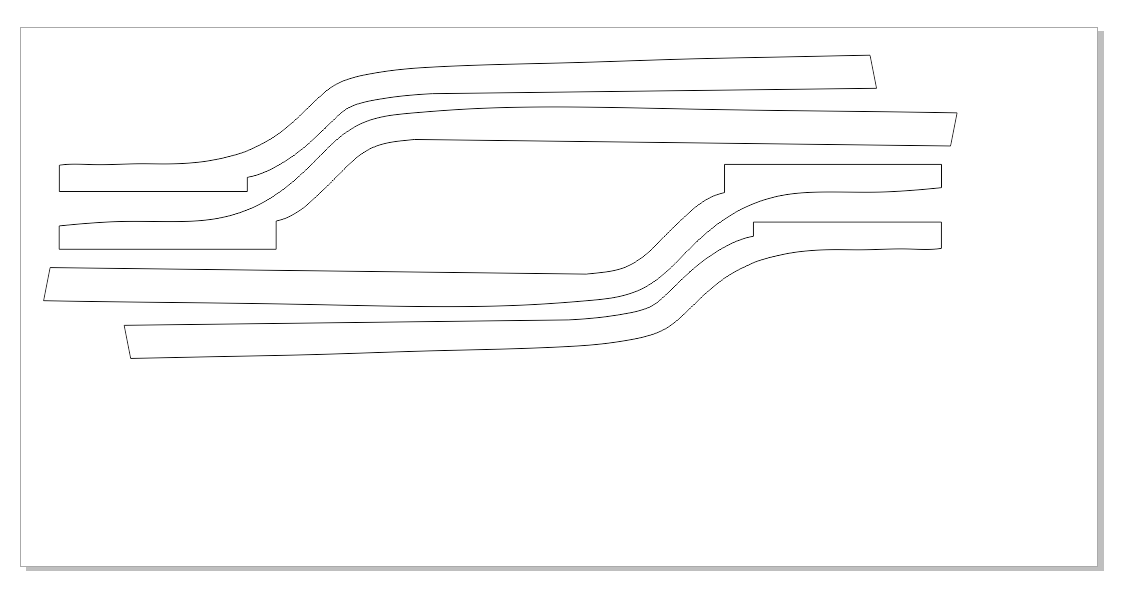
Then, I put the light fixture into its own file, and mirrowed it in the CAD.
Making the Cut
After the SolidWorks CAD was complete, I exported the part to DXF to open in CorelDRAW, a software used to prepare lasercuts. The wood I was using was 12”x24”, so in CorelDRAW I cut the part in half, and then duplicated both halves.
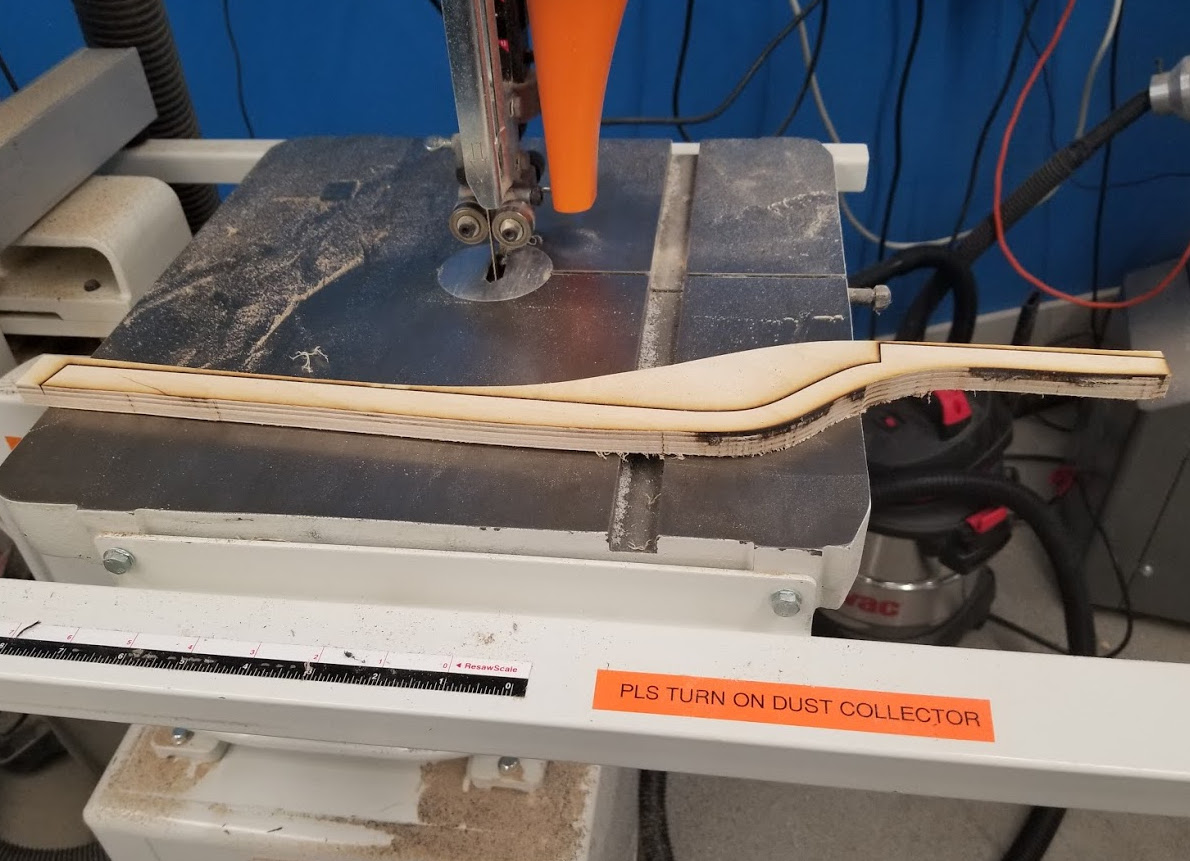
Additionally, the wood I used was 1/2” thick - so the laser cut was used to create an outline, not to cut all the way through the wood. After the laser cut finished, I used the outline to cut the fixture pieces out with a bandsaw, and sanded the pieces by hand.
Attaching the Fixture
Before attaching the fixture, I taped the light fixture into place under the board. Then I taped the lights onto the fixture to ensure everything looked right.

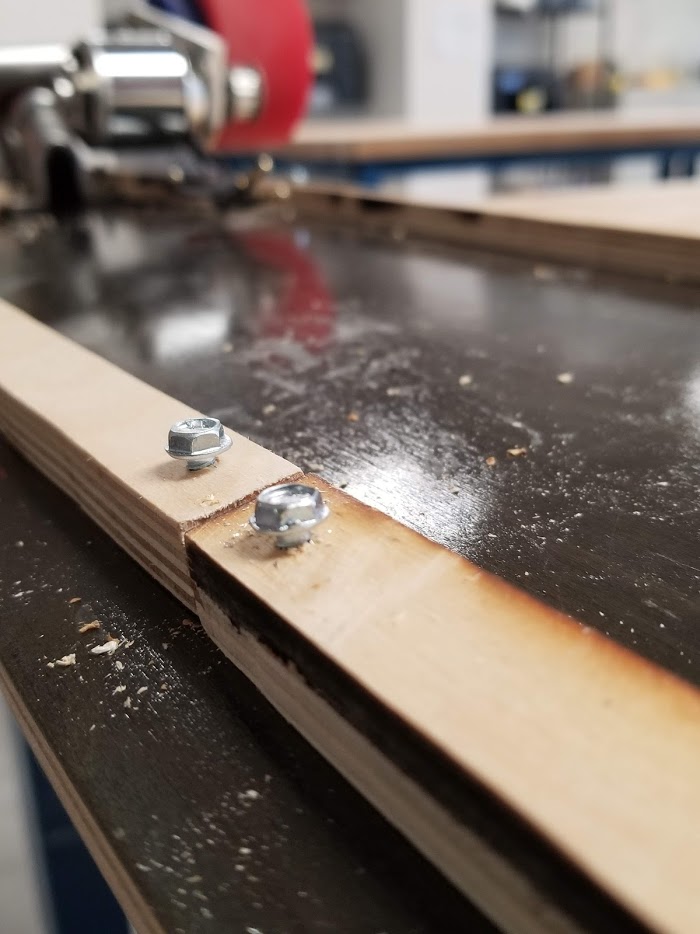
Next I drilled three pilot holes along each of the four enclosure parts, and drilled the pieces down. Because the screws I used were a little too long, I didn’t drill them all the way in - they would have went through the whole board.
Finishing Up
Finally, I took off the longboard trucks, used an X-Acto knife to attach velcro to the light fixture, and attached the LED strips to the fixture.
Parts
-
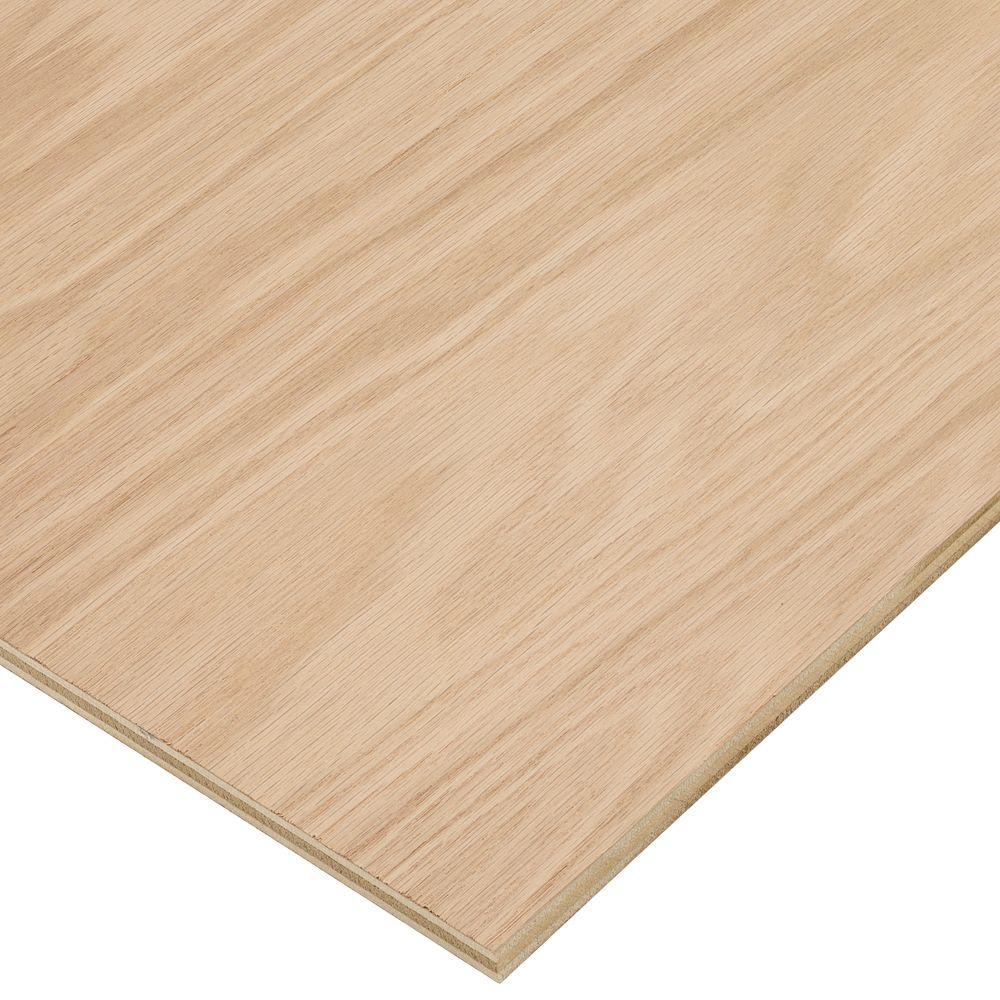
Wood (12”x24”, ~1/2” thick) - This is for mounting the lights. I got some for $10.
-
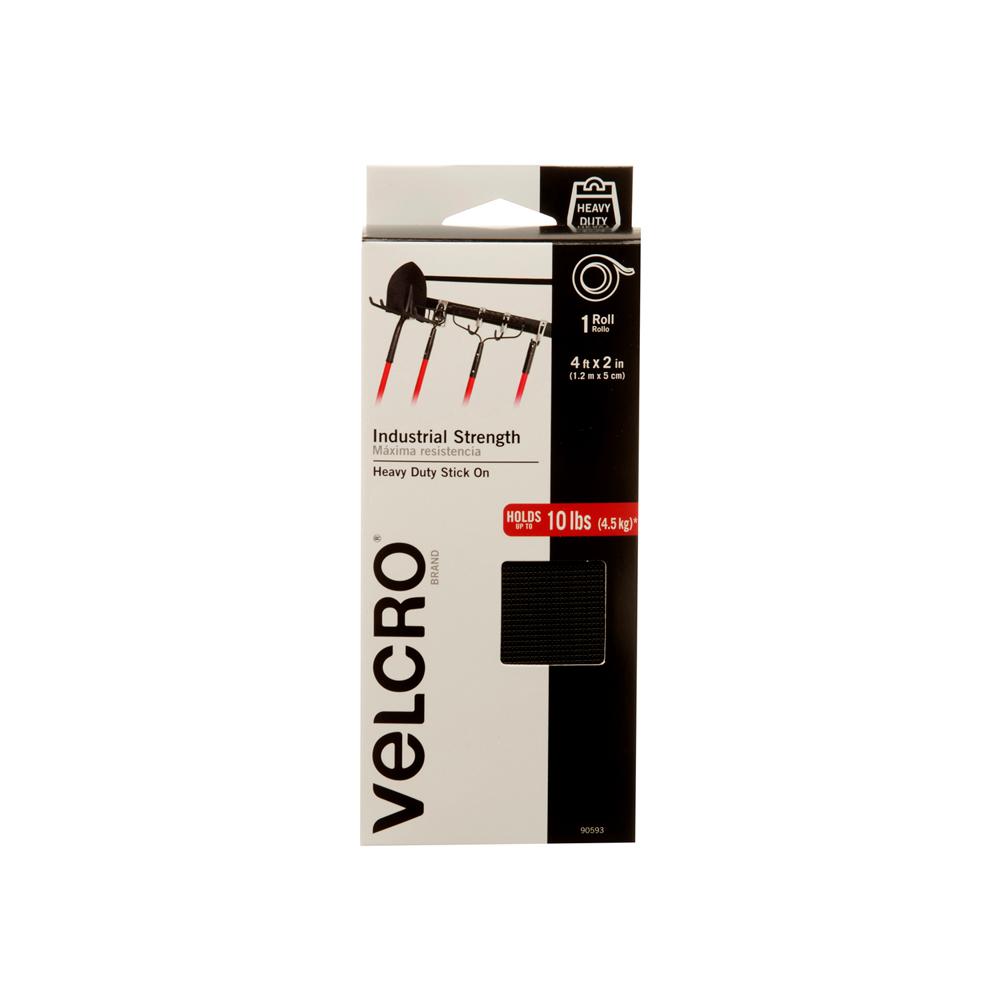
Industrial Strength Velcro (4’x2”)- This stuff is great, so the $10 is worth being able to safely attach and detach $50 worth of ligts.
-
LED Strips with Velcro Backing (2x)- I put these together in my first fixture post.
-
Tape- I found some masking tape to fix things in place before I did any permanent drilling.
-
1” Self-Drilling Wood-Screws (12)- I had a lot of these left over from creating th first fixture; I’d gotten 100 for $8.
Tools
-
Band Saw - A jigsaw will work, but you need to be able to cut 1/2” thick wood.
-
Electric Drill - If you can drill by hand, congratulations - you’ll be connecting 1/2” thick wood together. I used a drill from my school’s maker space.
-
SolidWorks - This is for modelling the project. I use SolidWorks because my school has it - there are many other options.
-
CorelDRAW - This is for preparing the lasercut. I used this because my shcool has it.
-
Laser Cutter (at least 12”x24”) - I used my school’s laser cutter to create an outline for the light fixture. A paper printout will work too.
-
X-Acto Knife - This is for cutting velcro to size for the light fixture. I used one from my school’s maker space.
-
Clamps - These were used to hold the board while I was drilling the fixture on.
| Back to Project |
Get occasional project updates!
Get occasional project updates!