It Works I Guess: Making an Enclosure
The first day I went to test the electric longboard, it rained for a week. My solution is the enclosure I’ve made. It’s very “rough”, but it works pretty well, so here it is - the parts list is at the bottom.
Material
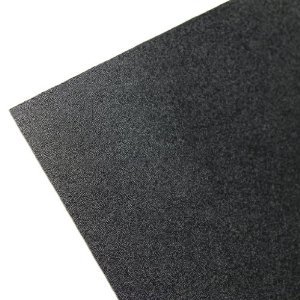
The first enclosure I made was out of acrylic. Whenever I dropped it, it would break, so I switched to using ABS, which has served me much better. I’ve seen enclosures made out of wood, too - but it’s important to make sure the material used is tough.
Dimensions
The first step is measuring how big the enclosure has to be. Mine needed to be 5 centimeters high, so I planned for a 6 centimeters high enclosure. Note that the enclosure might have to get taller or shorter towards one end of the board, as most longboards aren’t of uniform width.
I didn’t measure how long my enclosure had to be, so it’s a lot longer than necessary.
Construction
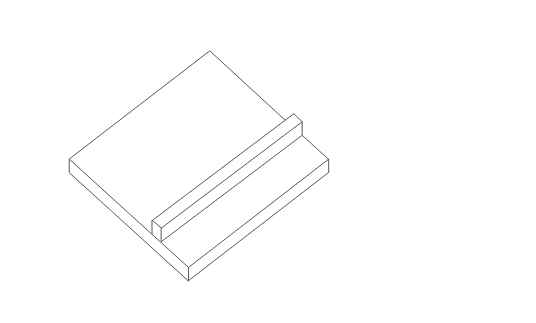
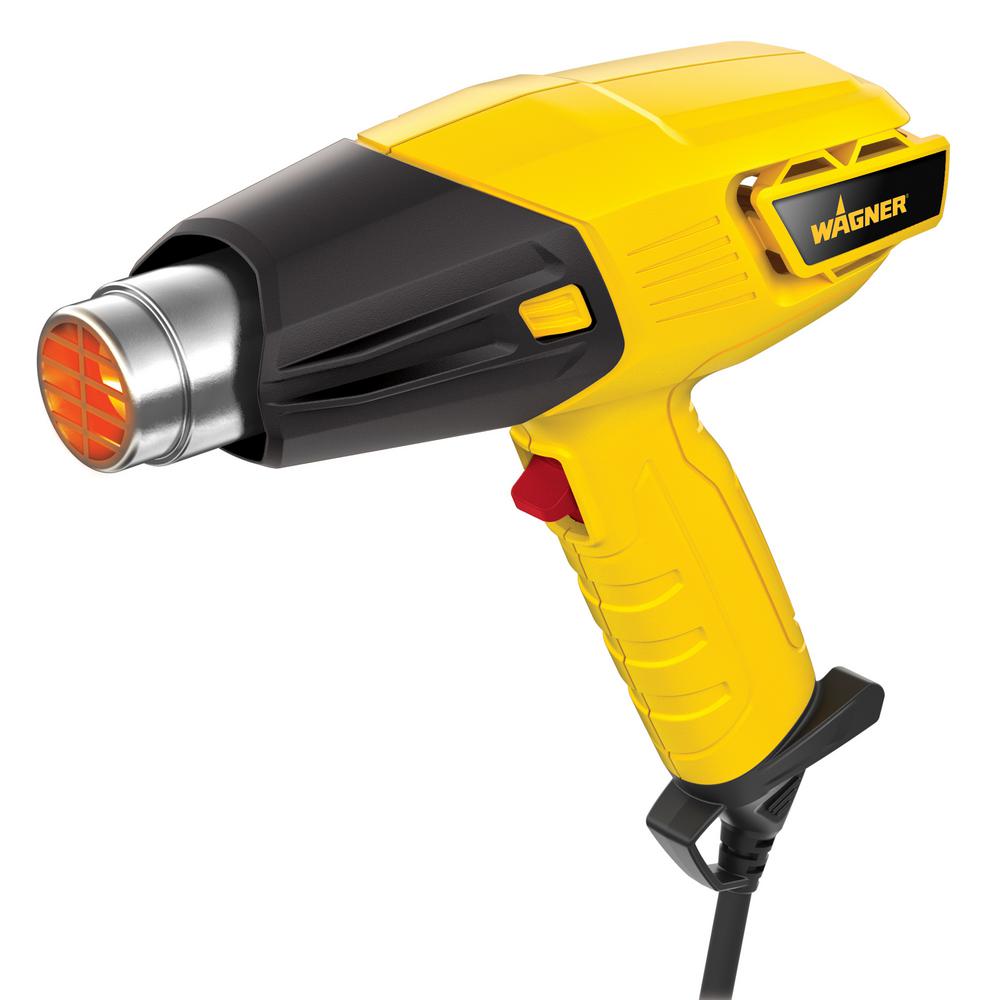
Thermoforming is generally when this happens. I don’t have a vacuum former, so I went at my sheet of ABS with a heat gun. First I put a block of wood atop the ABS, 6 centimeters from the edge (this will correspond to how high the enclosure should be). Since most longboards aren’t of uniform width, the wood might have to be slightly angled.
Next, I heated up the corner between the block of wood and the ABS, moving the heat gun all along the corner.
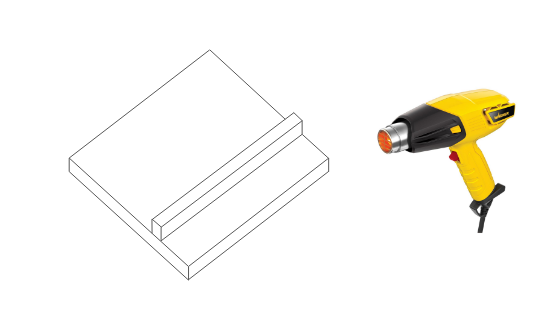
As I heated up the corner, I applied force to the block of wood as I pulled up at the plastic, creating a 90 degree angle.
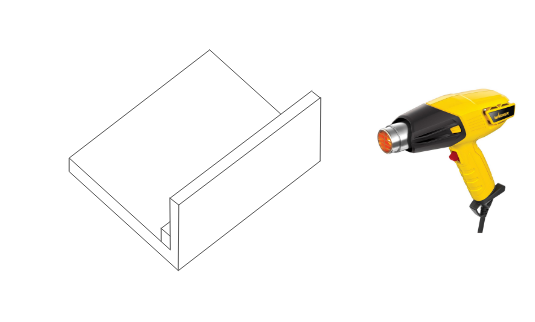
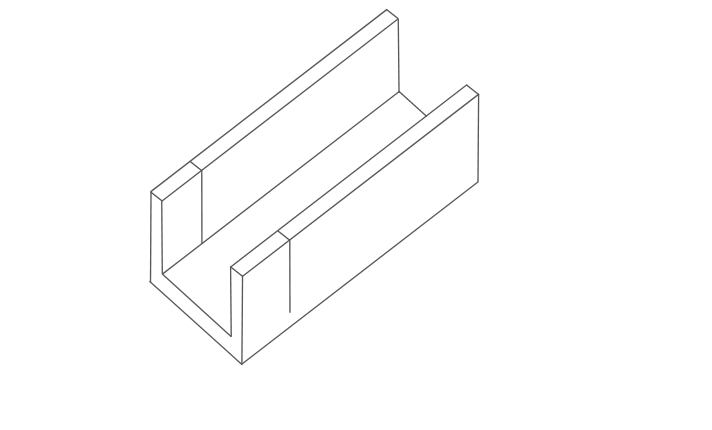
I repeated the same process for the other side, so that I had a long U shaped container:
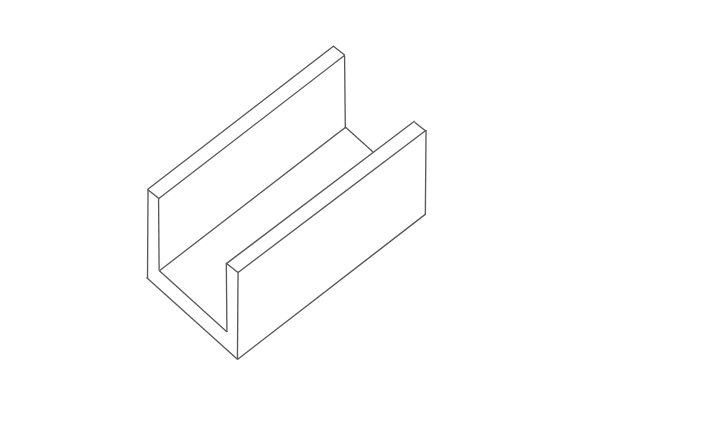
Next I cut all the way through the two walls of the U shapped container. I made the cut about 6 centimeters from the edge of the container:
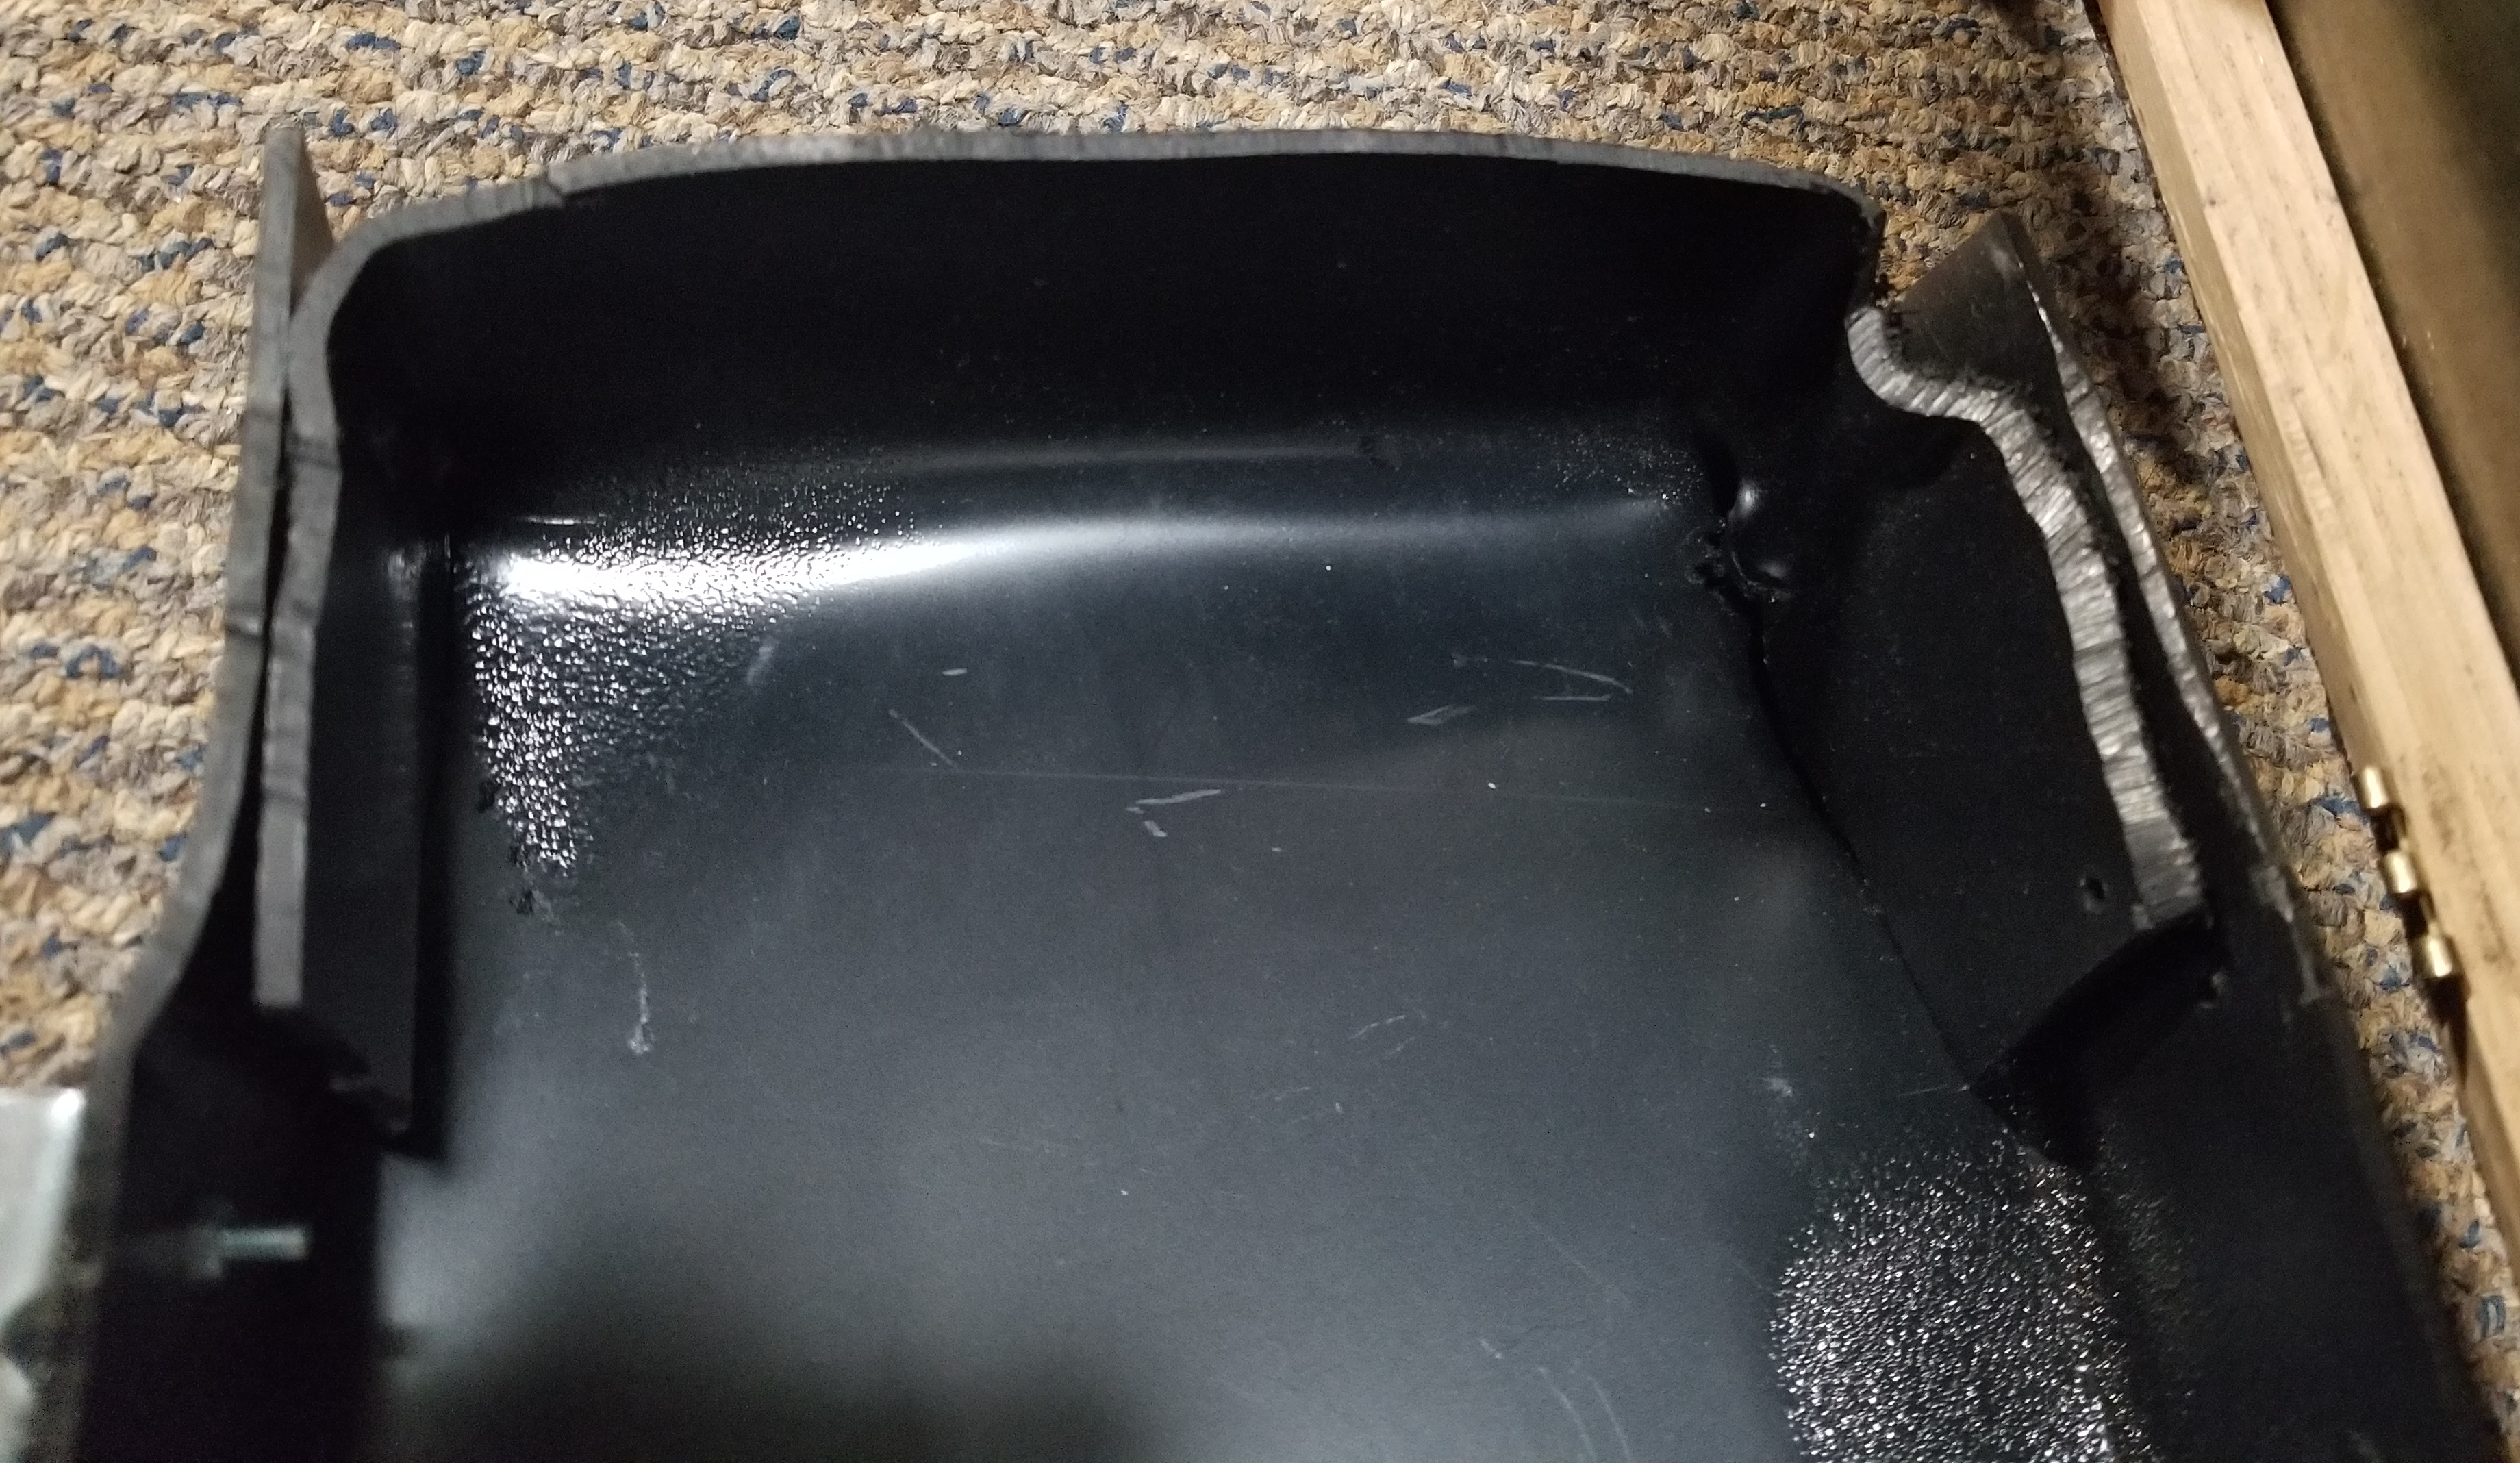
Next I used the heat gun to bend the two flaps I’d created inward. Then I bent the whole cut out area up at a 90 degree angle. Here’s what the finished end looks like, with the cutout bend up at a 90 degree angle (there was room for improvement):
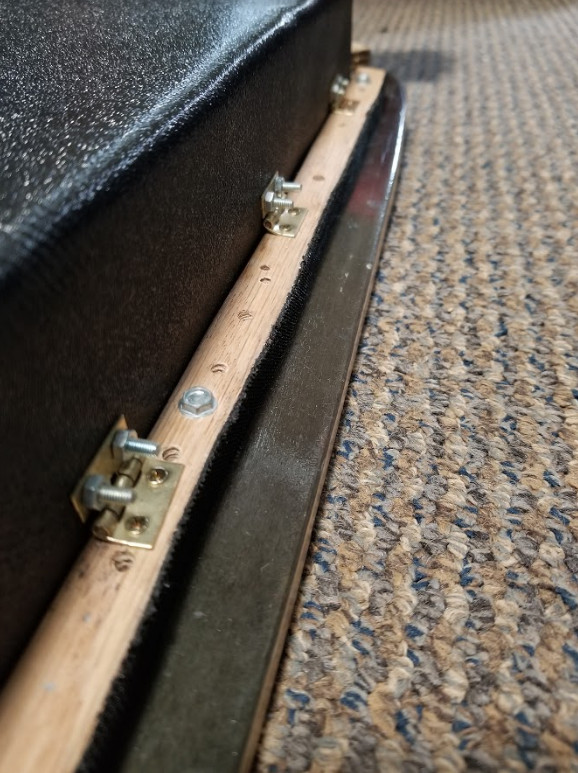
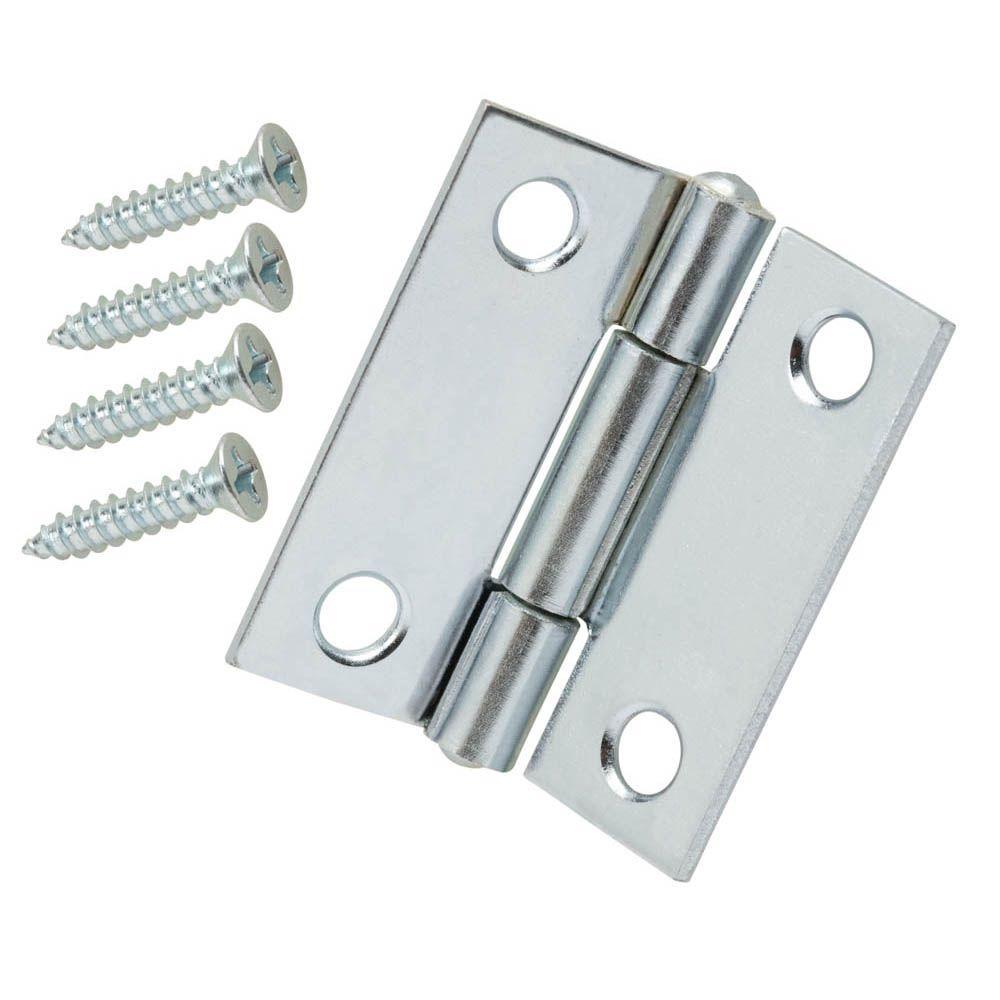
I did the same with the other side, and the enclosure was mostly done. Next I added hinges that attached to the light fixtures so that the enclosure opened on one side. Note that the hinge screws point out of the enclosure; if the screws point into the enclosure, they may damage whatever is inside of the enclosure:
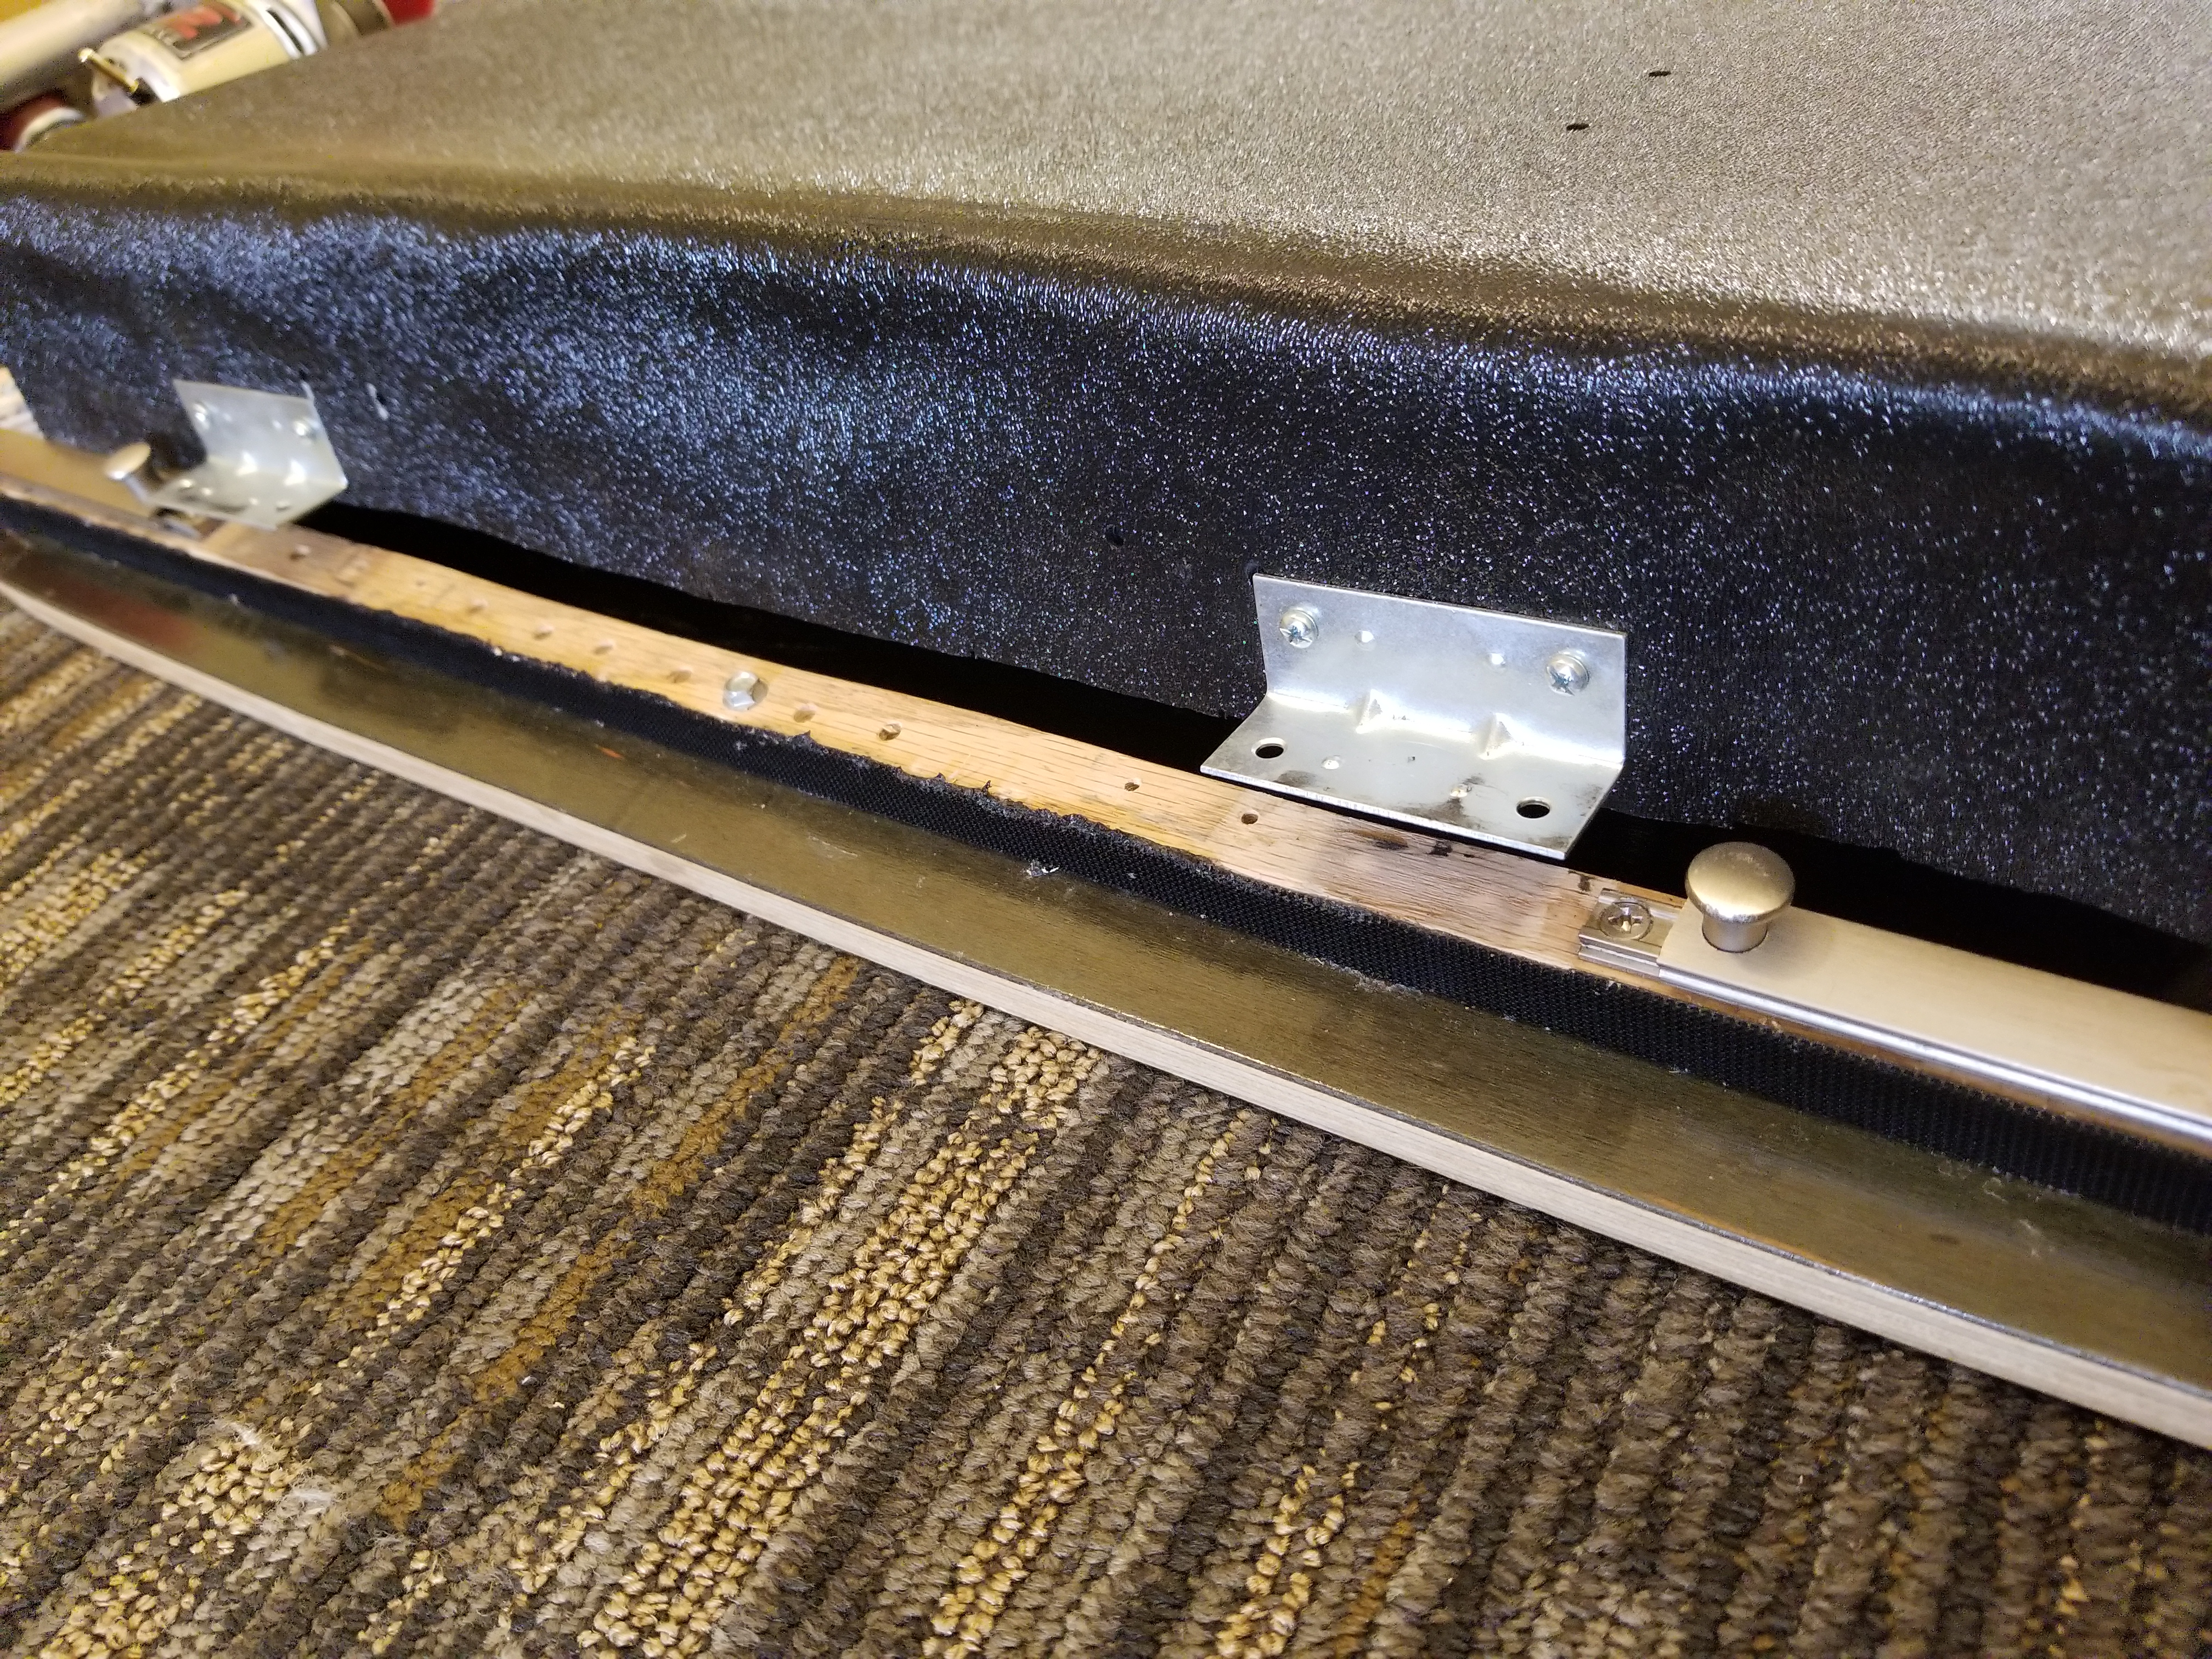
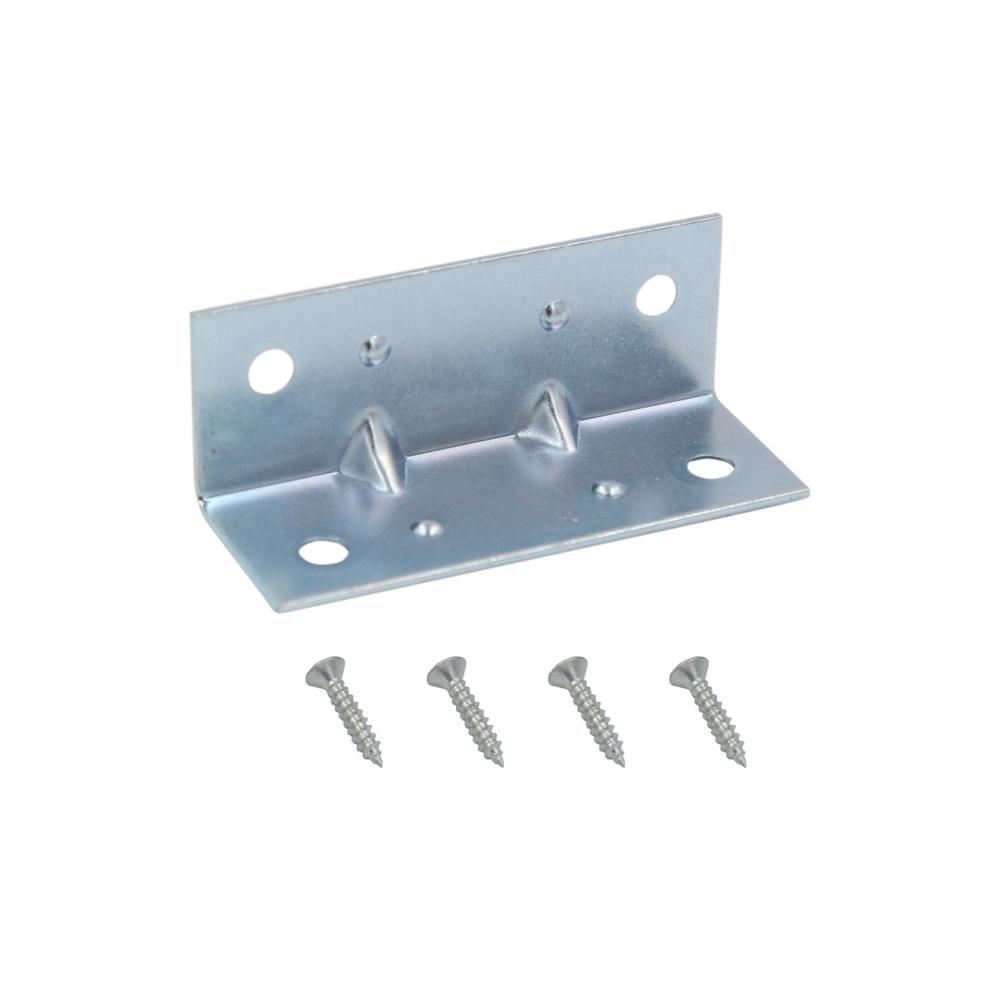
Lastly, I screwed L brackets into the other side of the enclosure, and mounted slide bolts on the light fixtures, like so:
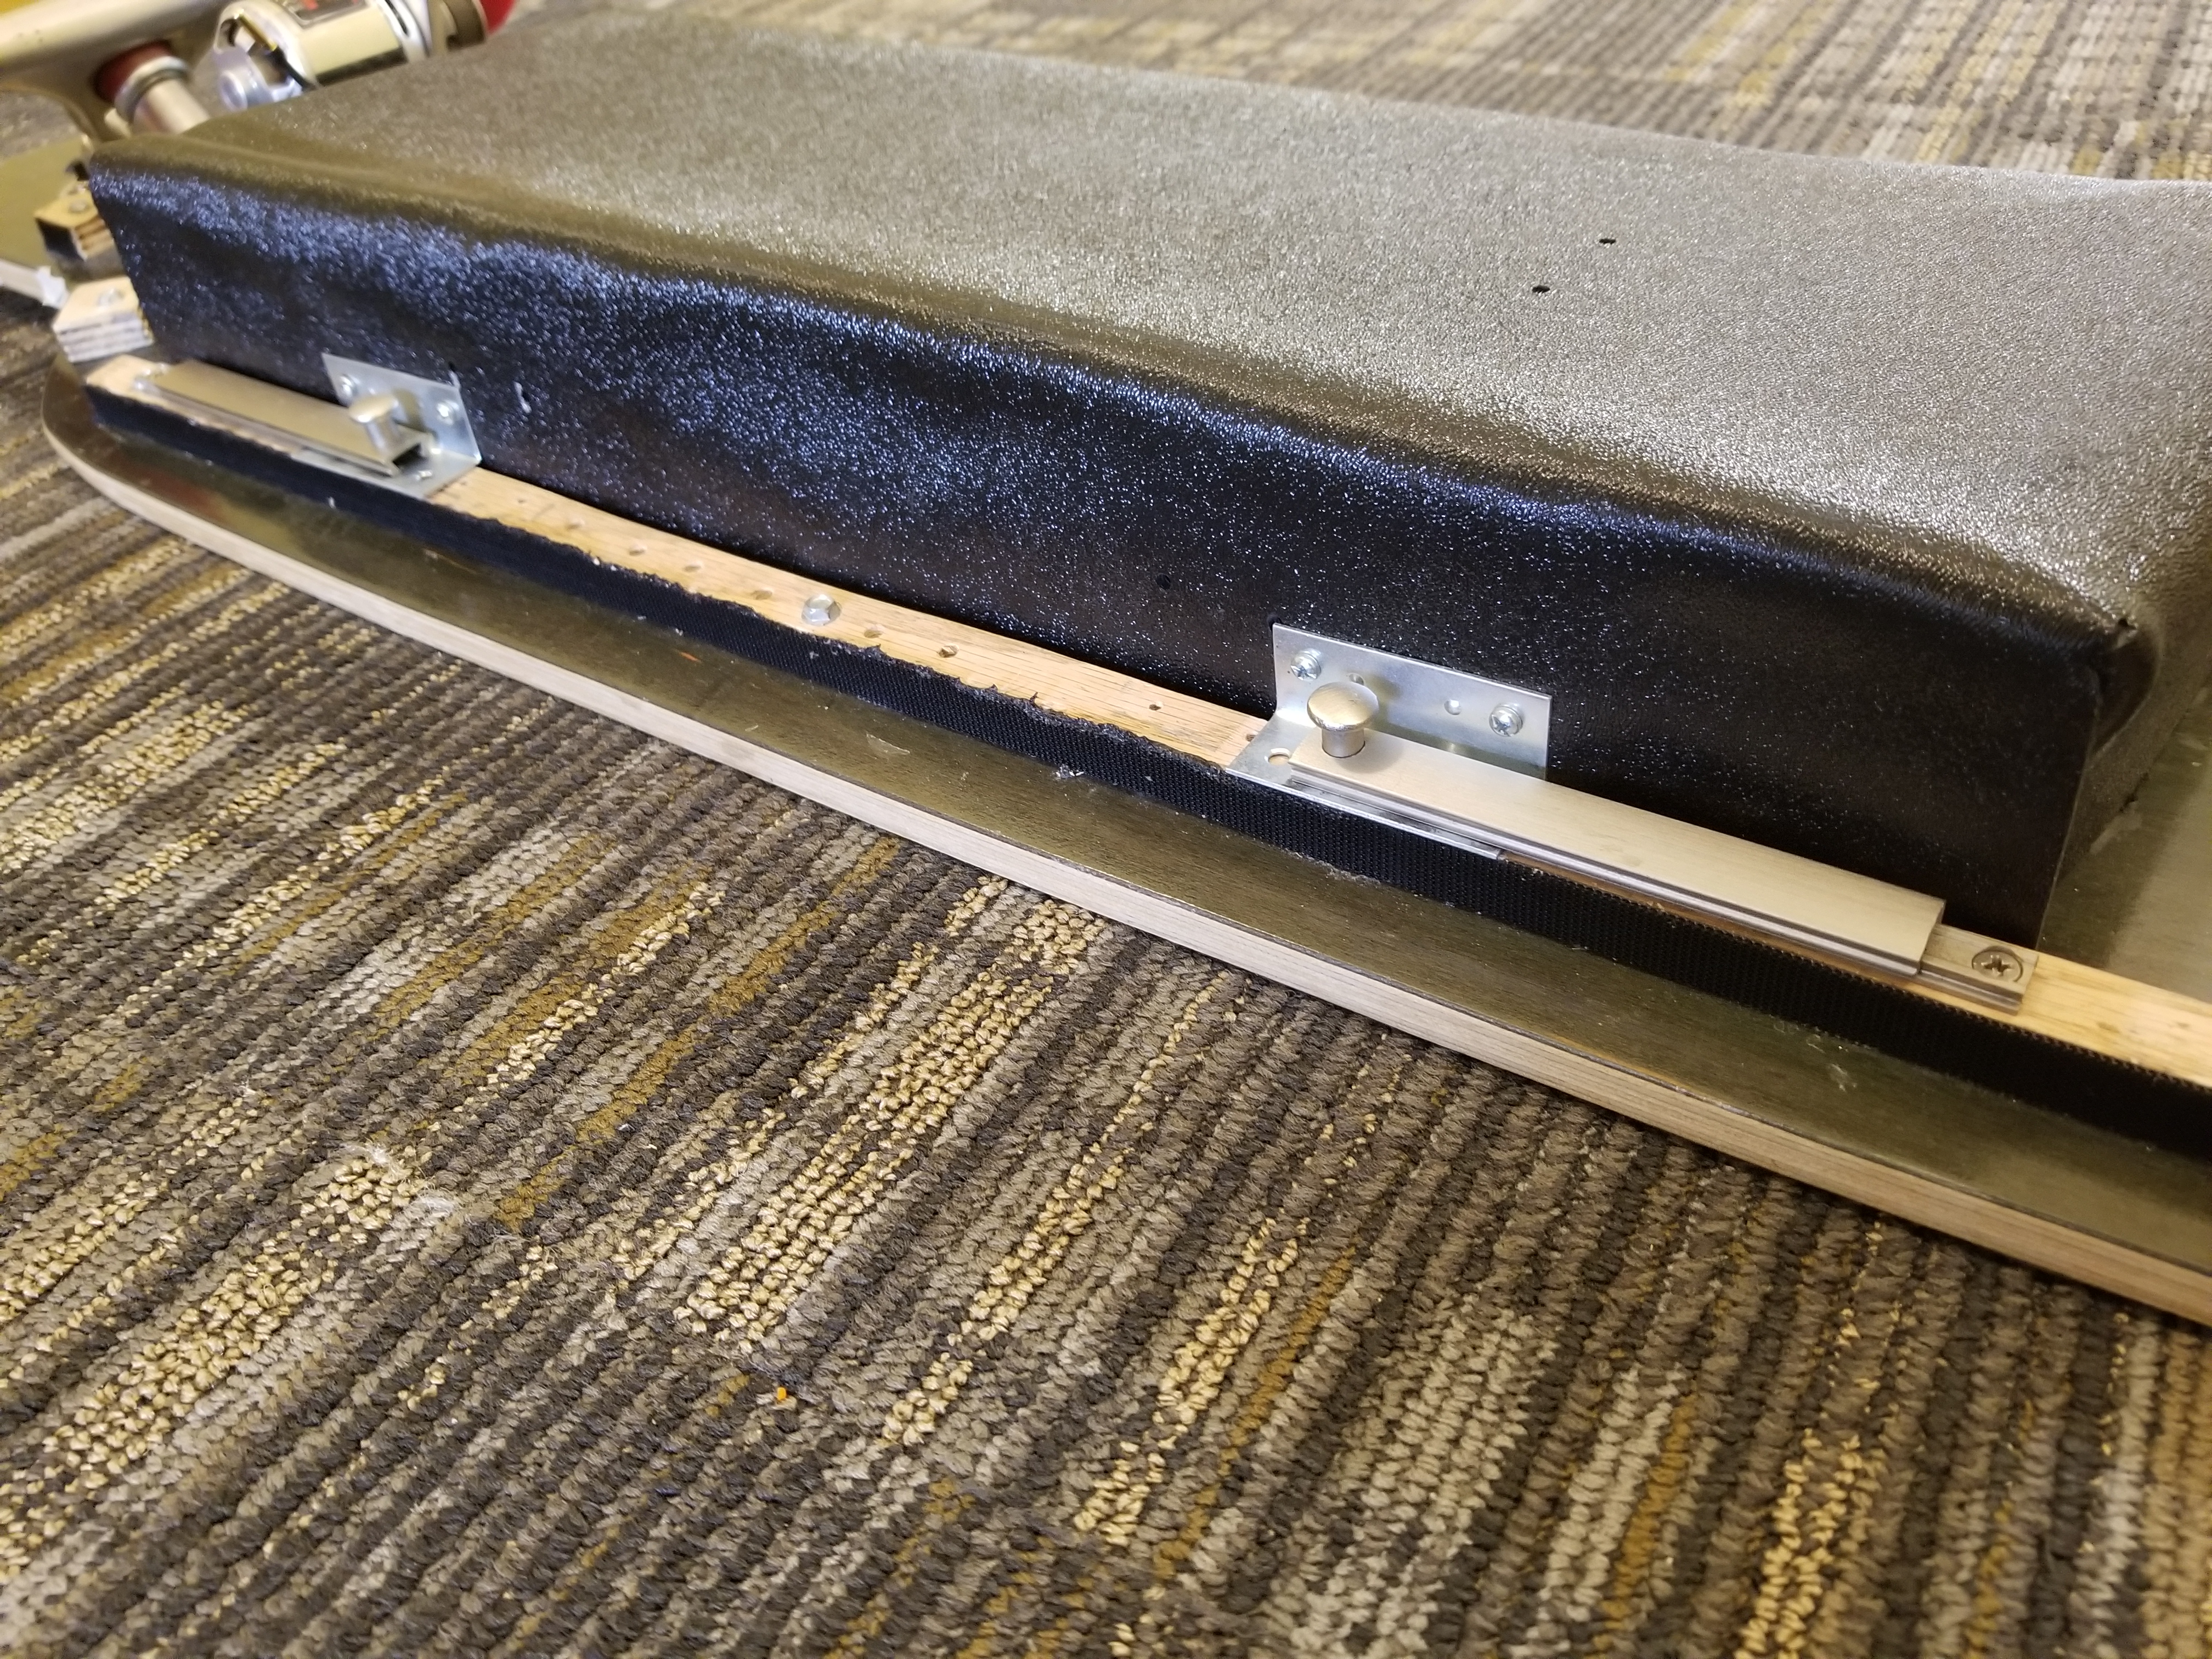
The enclosure I made is rough - it doesn’t look particularly good, so I’ll probably upgrade it in the future. But for now, it protects the electronics from rain and from dropping out.
Parts
-
ABS Plastic Sheet (12”x24”, 1/8” thick) - I got the plastic for the enclosure on Ebay for $14.
-
Hinges - So that the enclosure can open. I used the smallest set I could find from Home Depot at $3 so that they’d be low profile. Note that bigger hinges will last longer.
-
Corner Brace - So that the enclosure can stay closed. I got a pack of four from Home Depot for $3.
-
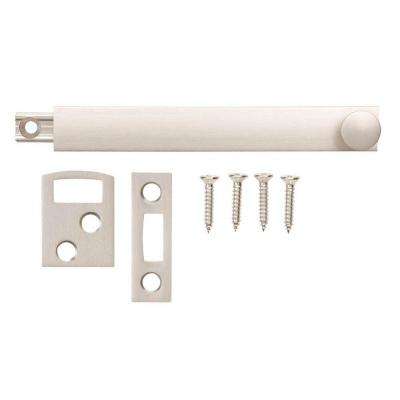
Surface Bolt - So that the enclosure can be opened/closed. I got a pair for $7 at Home Depot.
Parts Total: ~27
Tools
-
Heat Gun - One of these is needed to bend the ABS - I got one from Home Depot for $23.
-
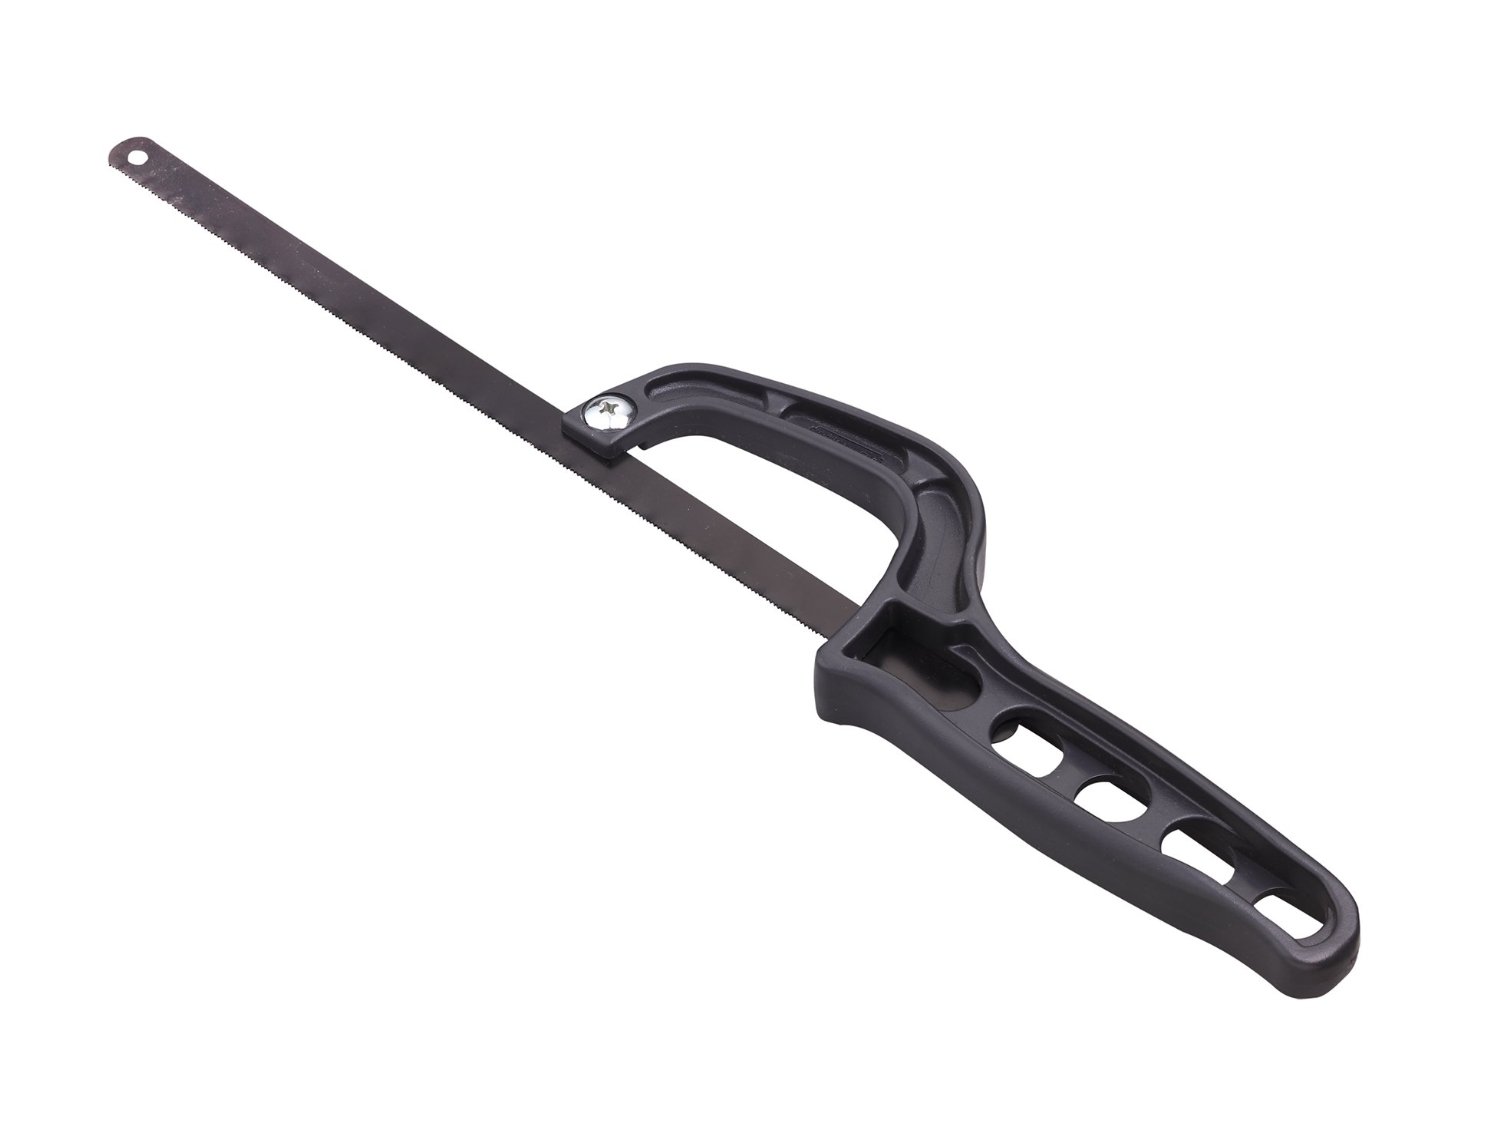
Hack Saw - To cut the ABS with. I got one for $5 at Walmart. The ABS could also be pre-cut on a bandsaw or with a jigsaw before being bent.
Tools Total: ~28
| Back to Project |
Get occasional project updates!
Get occasional project updates!