Symbol Recognition in Overleaf: The Frontend and a Simple Backend
Last spring, I felt typesetting proofs in LaTeX significantly slowed me down on homeworks, especially an hour before a deadline. There are solutions to convert from mouse drawings or handwriting to LaTeX (like detexify), but none integrate seamlesly with Overleaf, the dominant LaTeX editor.
Enter extexify, a symbol recognition extension that I will build specifically to work in Overleaf. In this first post I’ll build out much of the front end and a simple backend.
Before we jump in, note that as I update the extension, I won’t update the code shown below. Additionally, I’m testing in Firefox, so some parts won’t work on other browsers for now.
The Whole Plan
For the uninitiated, Overleaf lets us type out papers in LaTeX, a language commonly used to write scientific papers or college homeworks. This is what the Overleaf interface looks like:
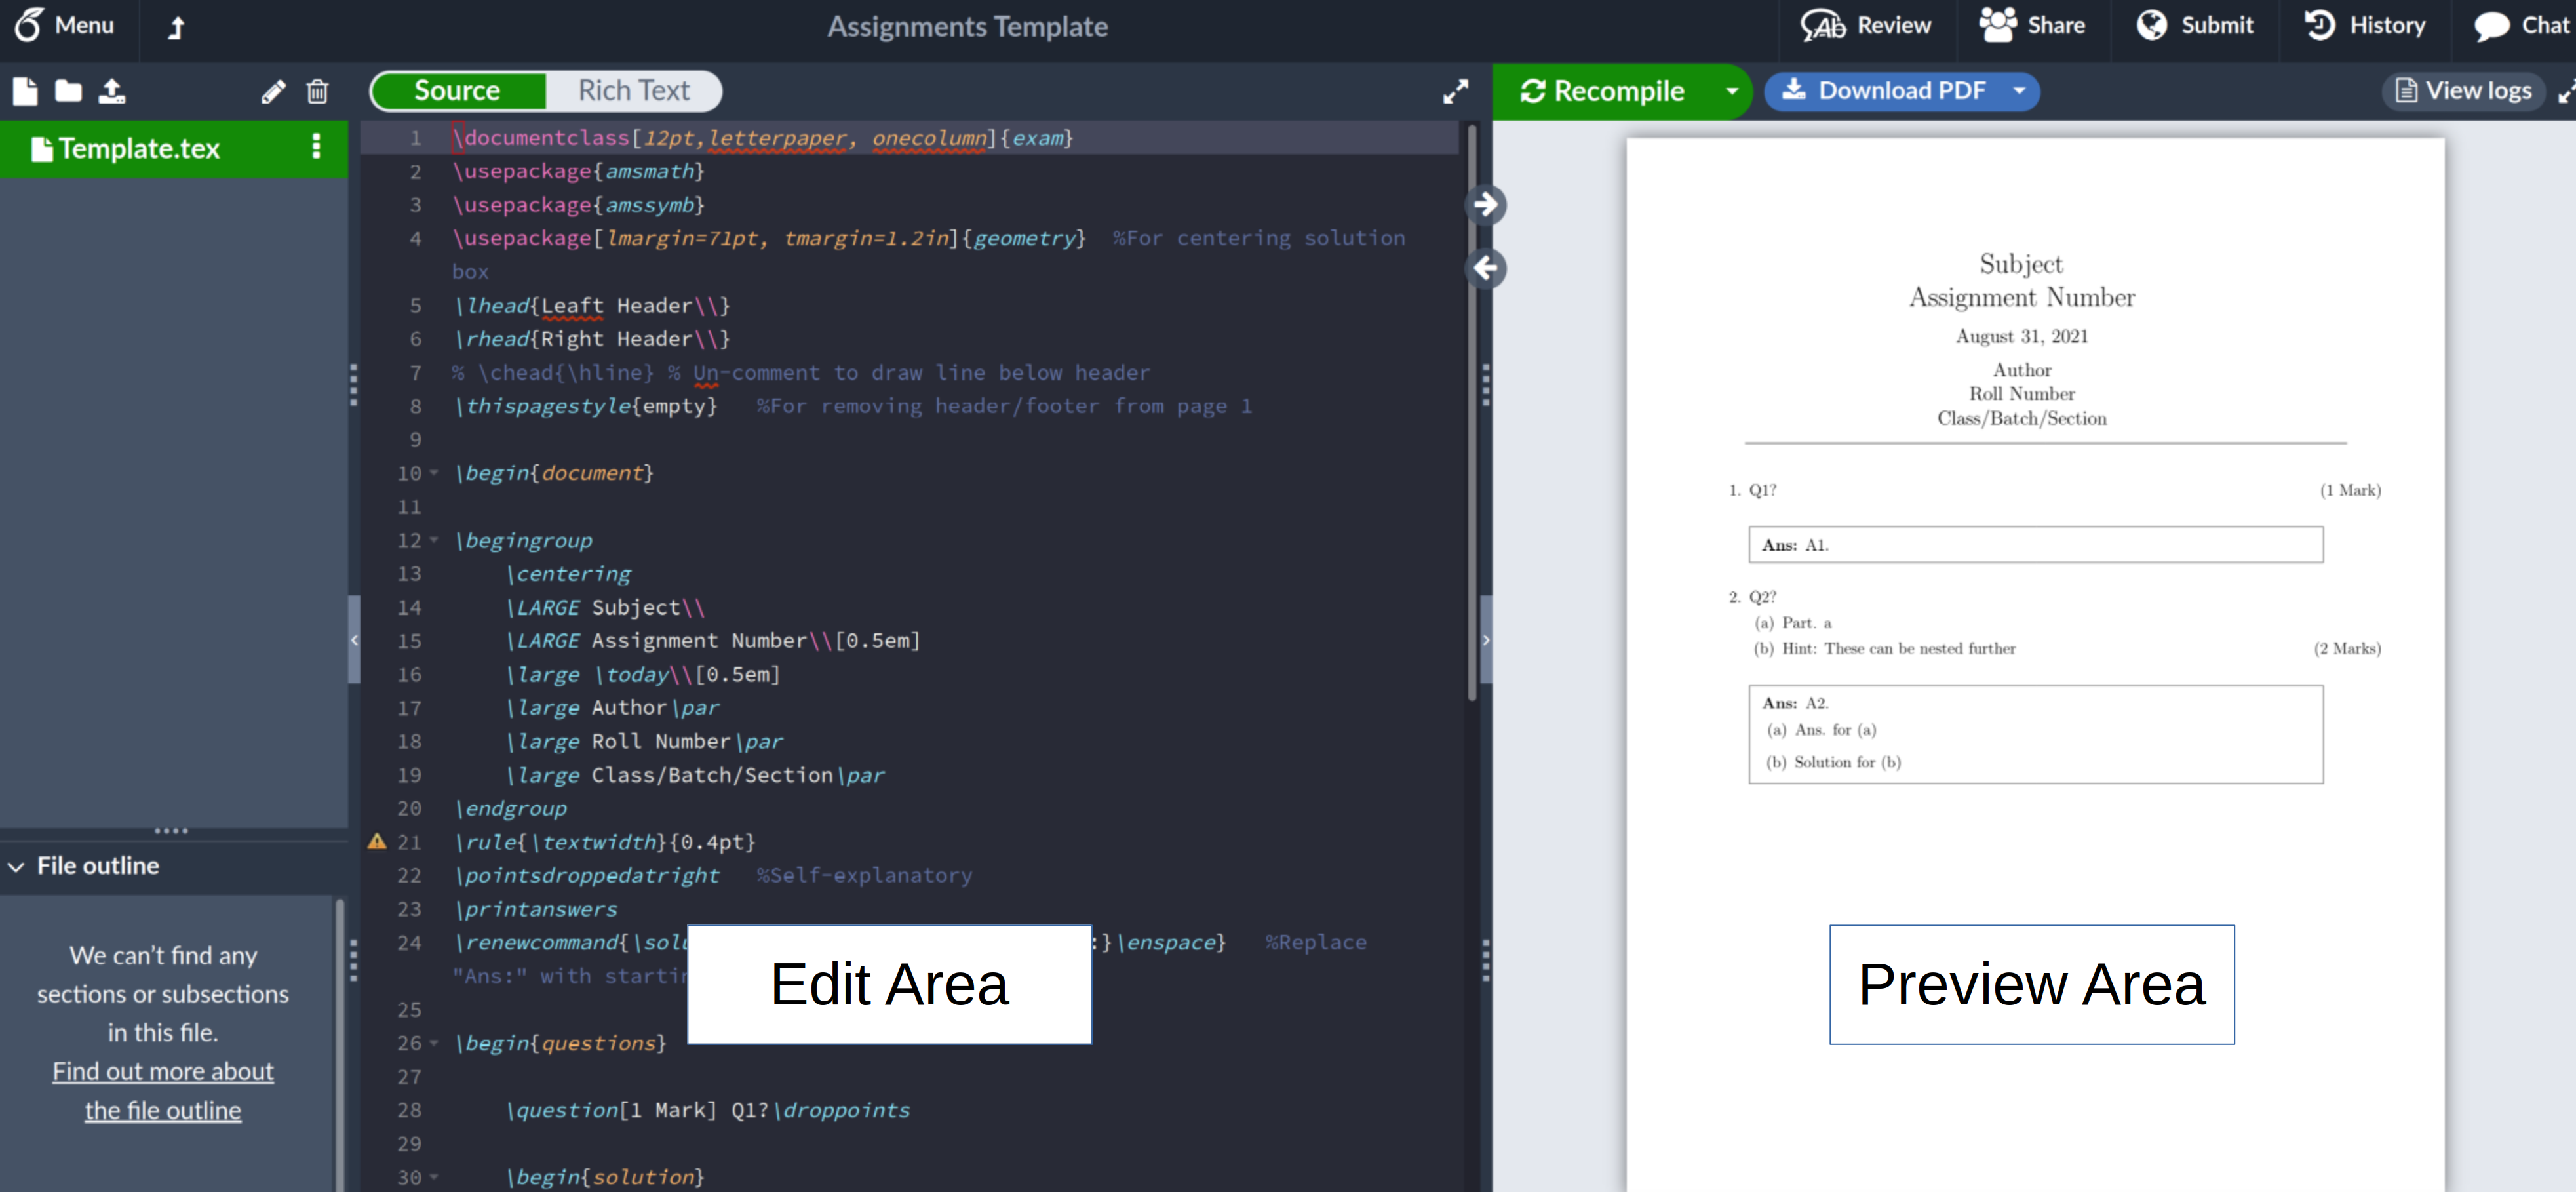
I plan to have an “extexify” button next to the top buttons that say “Source / Rich Text”. It will open a pane over the editor where users can draw a symbol. After a symbol is drawn, the strokes will be sent to a server.
The server will convert the strokes into an image, and use a convolutional neural network (CNN) to classify the symbol. I hope to eventually be able to classify any symbol, even if it doesn’t exist in the dataset I am using.
The server will eventually send the classification back to the user, who will be able to copy any of the top results to their clipboard.
After I have something that mostly of works, I plan to post this on a few subreddits, and perhaps elsewhere, too. I want feedback!
Creating a Basic Extension
Please note that if you’re planning to make a new extension, you should probably look up the latest documentation from Firefox or Chrome! Step one to a new extension is to create a new directory for the extension, and a manifest file in the directory:
This simple manifest file enables the extension on Overleaf, and ensures that content.js (the main code) and style.css (the styling code) will get loaded on top of Overleaf.
At this point we have a basic extension! We can also create a content.js, and add a simple console.log(“Hello!”) to it.
In order to load the extension in Firefox we can navigate to about:debugging#/runtime/this-firefox and then click Load Temporary Add-on.
In Chrome, we can click Load unpacked at chrome://extensions/.
After loading our directory, we can then navigate to a new overleaf project, right click anywhere, click inspect element, and then navigate to the console to see “Hello!”
The Frontend Plan
Most of the front end is written in content.js. Here’s the top of that file, which serves as a good overview of this file:
The first two lines add the UI: a button to toggle showing the user interface (addExtexifyButton()), and then the drawing user interface itself (addExtexifyPane()).
The next line adds functionality to the button so that it will hide and show the main UI (addToggleExtexifyCallbacks()). Next we hide the UI to start with (hideExtexify()).
The next two lines clear the drawing canvas and make the canvas react to mouse movements, respectively.
Injecting the Extexify Button
One of the more “fun” bits about making extensions for a particular website is figuring out what the website developers were doing, in order to add things on top.
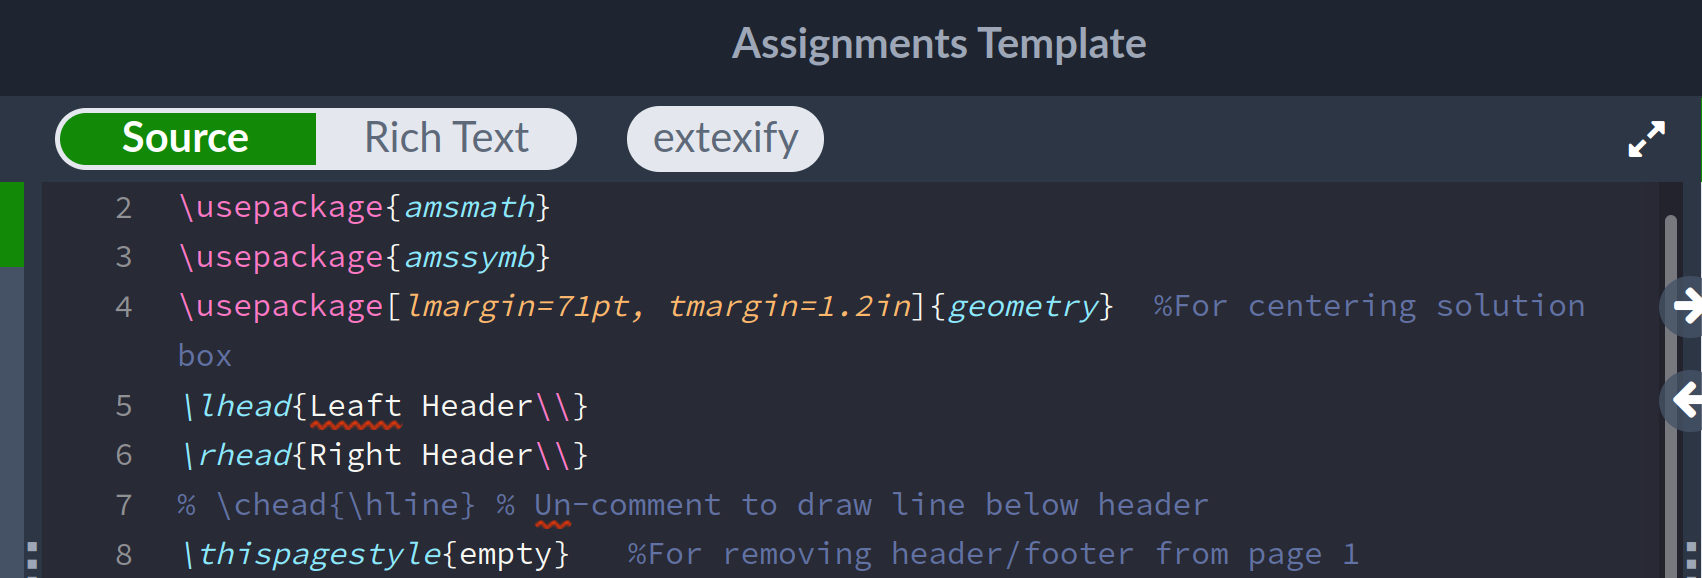
The first UI component I added was the extexify button. This is what that looks like:
In order to get this look, I first had to find the location in the website code to place the button. Eventually I found it; Here you see me highlighting the code for that space, and Firefox highlights the corresponding part of the webpage for me:
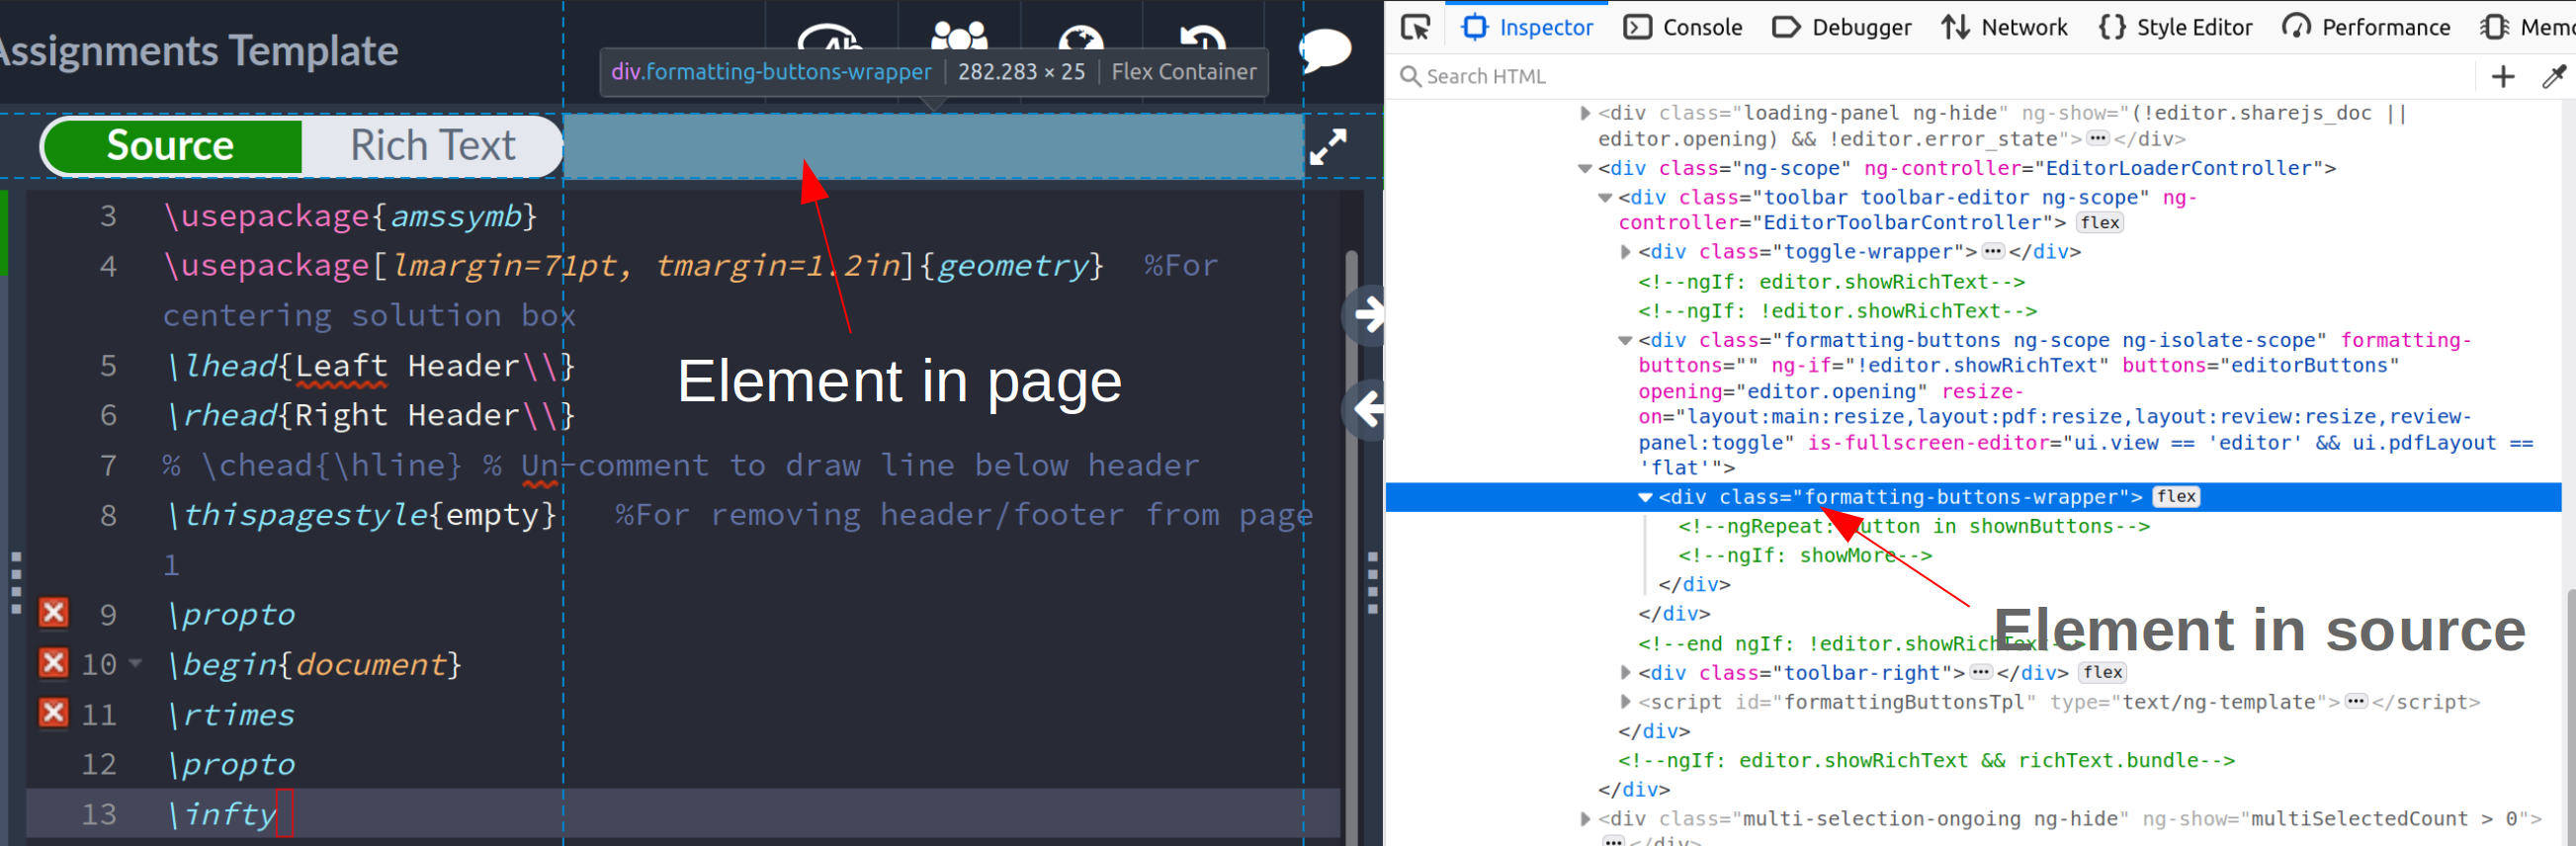
If you squint, you can see that the class name for this space is “formatting-buttons-wrapper”. Additionally, there’s no other parts of the webpage with this name, so I can access this element directly, and add the button. The below code shows me doing this, by setting the inner code (html) of that space:
You’ll also notice that I add “toggle-switch” as one of the classes for the button. The neighboring buttons have this class, I added this so that the button would blend in.
Injecting the Extexify Main User Interface
I performed a similar process as for the button to create the extexify user interface (UI). Below, lines 2-10 serve to add new elements to the webpage. The rest of the function defines the custom user interface I am after.
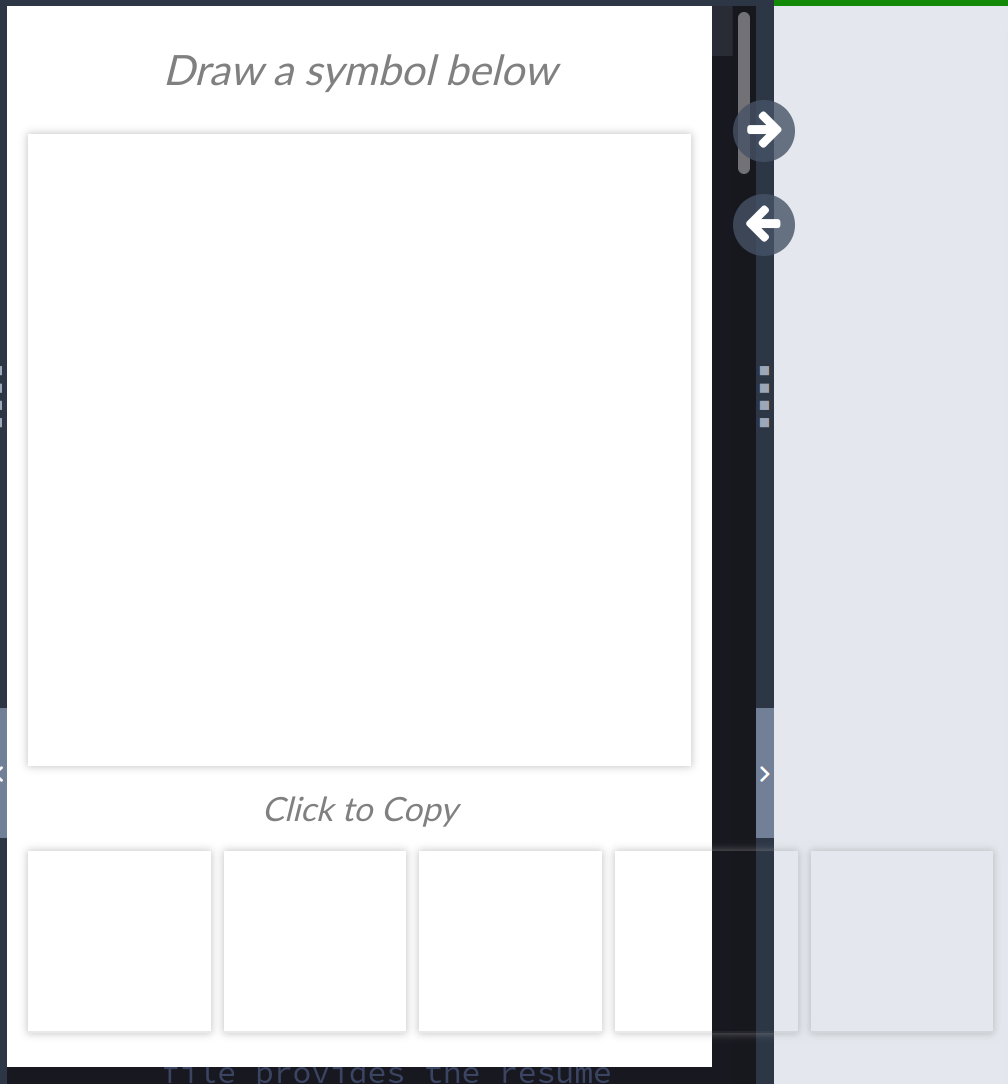
Here is the result of that code:
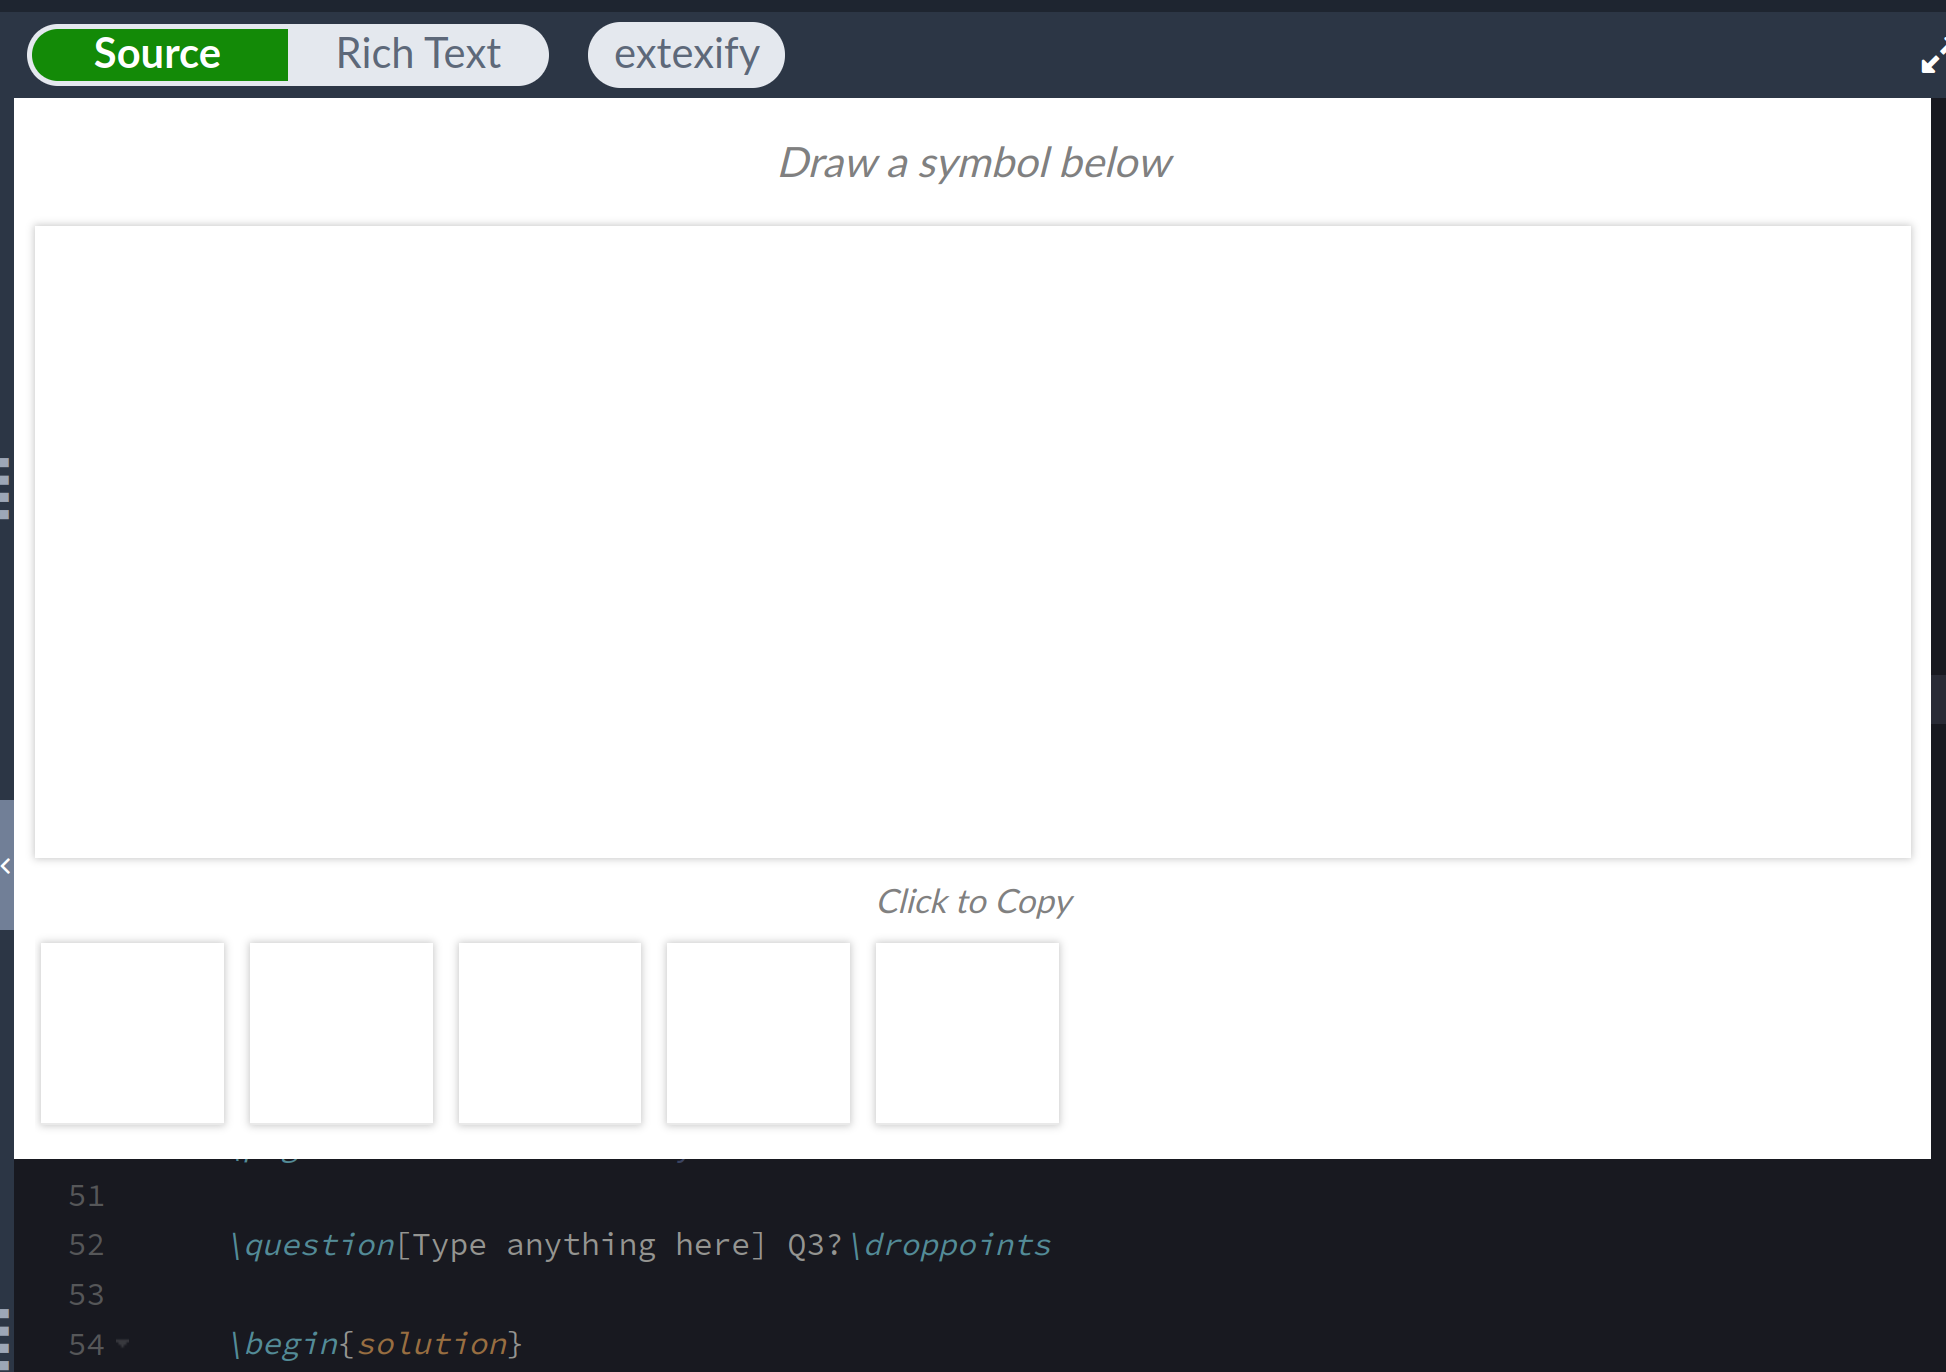
The top box is for drawing, and the bottom five boxes will hold predictions.
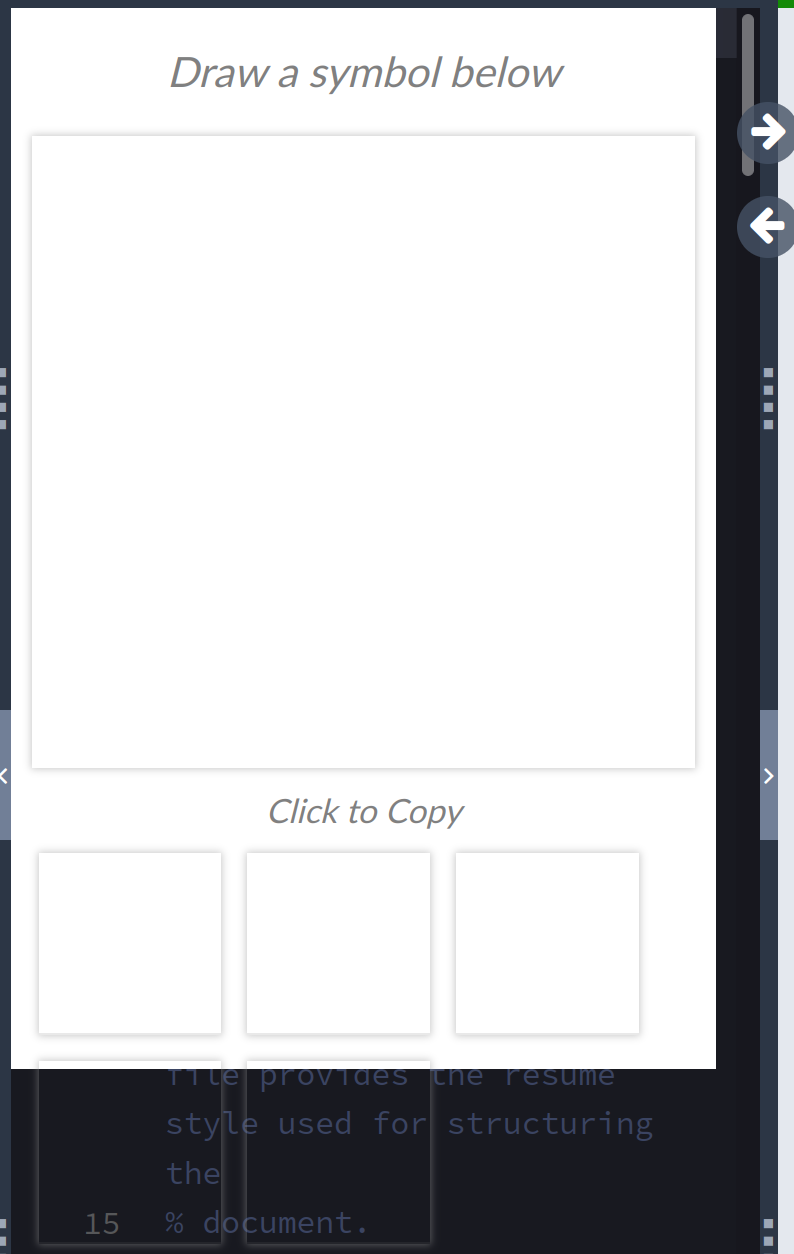
One thing I want to talk about in terms of styling is how many boxes get shown. Imagine my screen is very squished; I don’t want to show all of the prediction boxes, as in the image below:
The first step to avoiding this behavior was to make the container for the prediction boxes display in “flex” mode, with its “flex-flow” attribute set to “row wrap”.
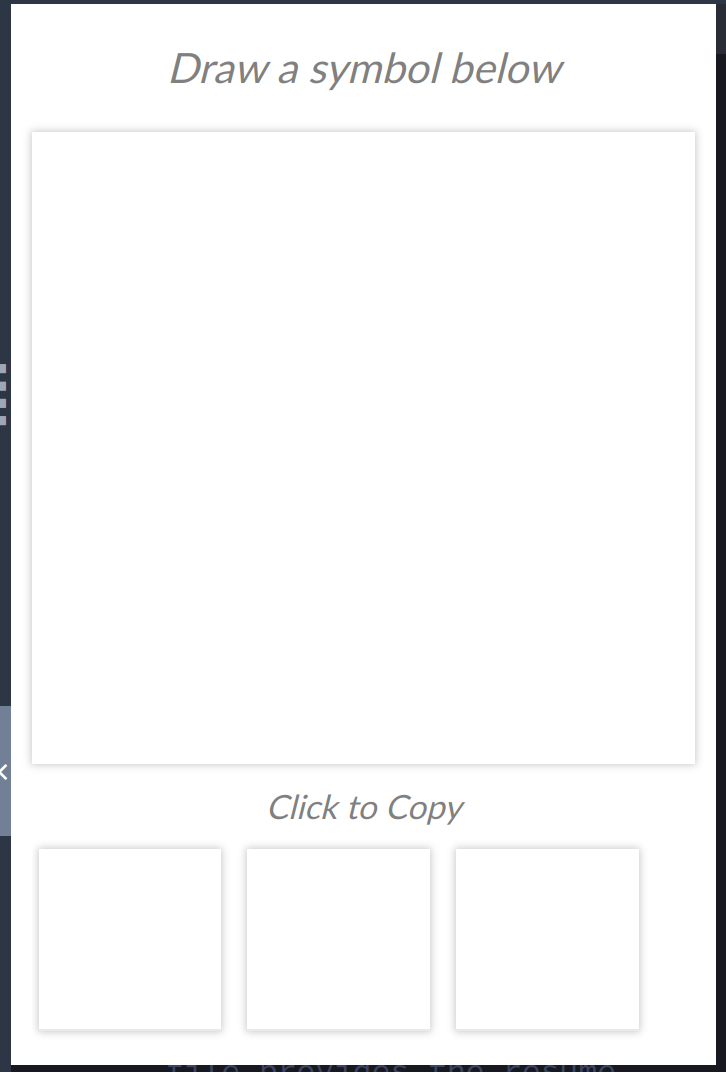
What this does is mandate that the boxes will be in a row, and wrap around to the next row if there is not enough space. Like so:
Lastly, setting the “overflow” attriute to “hidden” removed the extra rows:
In general, I think I should probably use “flex” display more often, as it seems useful for grid-like layouts, which I use often. But I haven’t yet taken the time to learn the ins and outs of flex.
Interactivity
So far we have the user interface up, but it doesn’t do anything. The function addToggleExtexifyCallbacks() adds life to the extexify button, and hideExtexify() initially hides the drawing user interface. Under the hood, they both rely on code from toggleExtexify():
Here we just toggle the “fade-out” class which hides the main user interface, reset the canvas width if necessary, and reset our list of drawn points.
The next step of interactivity is drawing on the canvas. For this, I simply copy pasted from this stack overflow answer.
There was a bit more styling behind the seens, but after that, I had the entire user interface up and running. Here is the whole thing:
It’s ready to connect to a backend!
A simple backend
I will try to have the backend be as simple as possible to start. For example, since I will create my models in Python, I will write the backend in Python, with Flask. Initially, the server will have one endpoint, “classify”, and will always return the same predictions. Here it is:
This is pretty much copy pasted from the Flask documentation. I’ve decided that I want the server to send back the top 5 symbol predictions; for now they’re just A B C D E F.
After naming this file app.py, I could run it with the following:
This runs things on port 80, which for whatever reason, is the only port that a local server can use to communicate with an extension. Navigating to http://localhost/classify in a browser, I could see the basic predictions of A, B, C, D E F.
Note that this server might cause the extension to throw CORS errors later on; a simple fix for this is shown here.
Bridging the Frontend and Backend
Now it was time to have the extension ping the web server. For this to work, I had to broaden the permissions in the extension’s manifest file:
Then, in content.js, I added a function that pings the server every 150 milliseconds if there’s an update to the canvas. Here it is:
First up, the canvas drawing code updates a variable shouldUpdate, so if no canvas changes have happened, nothing gets requested. Otherwise, I request a classification from the server, and I call updatePredictionsHTML to update the visible predictions.
This motivates the next two functions, updatePredictionsHTML and addReTypesetHandler. The first function updates the text for the predictions. It’s not very interesting, so I won’t explain it.
The latter however was more interesting. Basically, I want the predictions to be nicely typeset. This is easy enough using a library called MathJax, which Overleaf already has loaded.
However, the extension can’t directly access MathJax. So on the extension side I toggle an invisible element in the page when I want to typeset predictions. Then a script injected inthe page checks this invisible element to see if it should typeset things. There is probably a better way of doing this, but I haven’t found it yet. The following code is what checks whether the invisible element has changed:
Final Result
With that, I had a backend and a frontend that could talk to each other. You can see this below; after I finish drawing, the predictions below blink as they get refreshed.
At this point, all I need to do is change the backend so that it actually returns predictions. I’ve already gotten a lot of progress on this end, so until next time!
| Back to Project |
Get occasional project updates!
Get occasional project updates!